As I write this, it has been 20 days since I laid out the plans for the first time and started doing material takeoffs. I have to admit it was a little overwhelming at first. There is no playbook on how to do this, no checklist containing step-by-step instructions, no list of all the material and quantities you need. You actually have to think! You can find photos online of people working through their own builds but they all have their own slight variations.
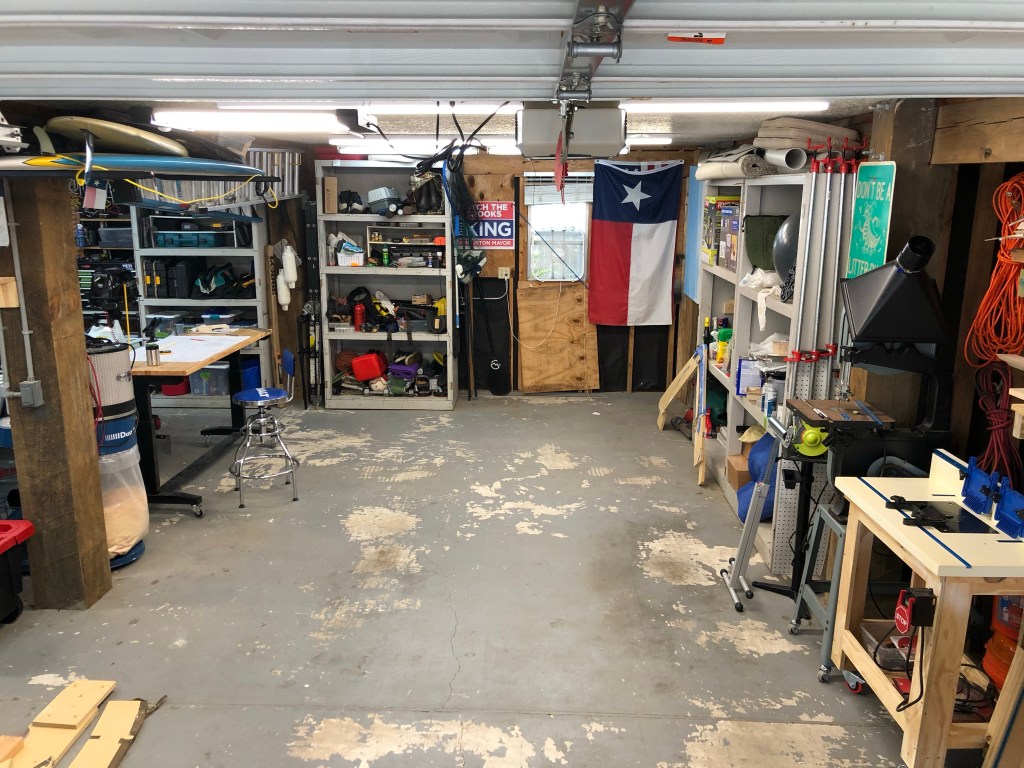
I am fortunate to have a large garage that I foundly refer to as “The Shop.” Like with most shops, there is never enough space. I’m not sure that enough space is actually obtainable. Anyway, before I started I needed to spend some time thinking about and preparing for where my boat project would live for the next year or so.
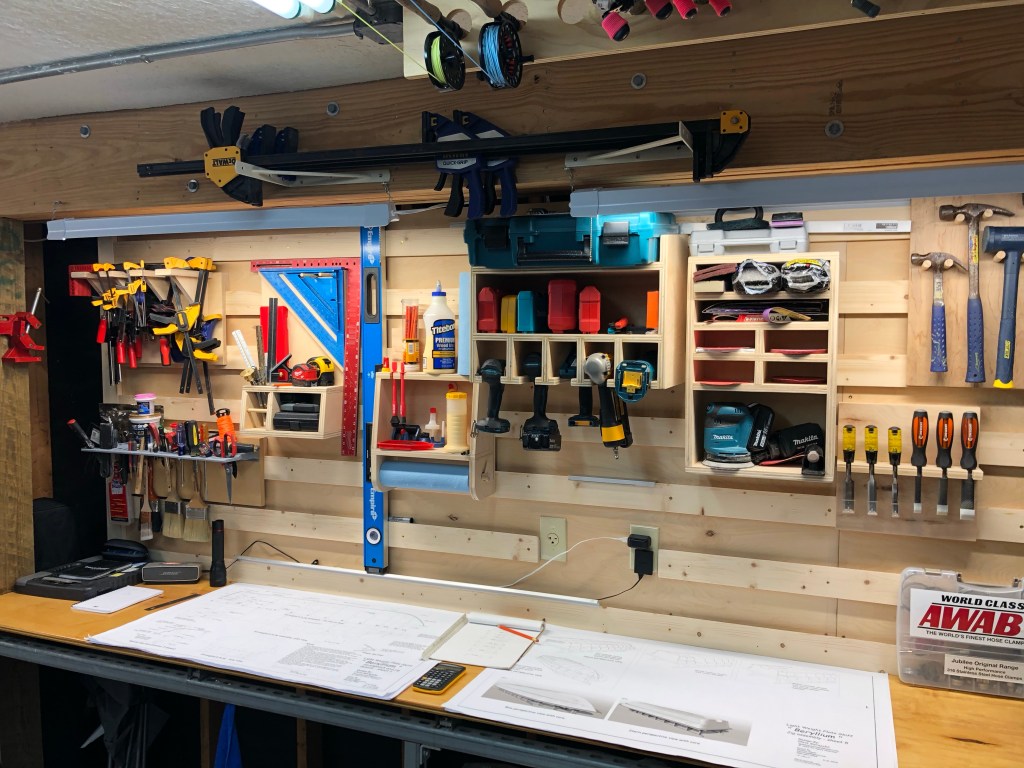
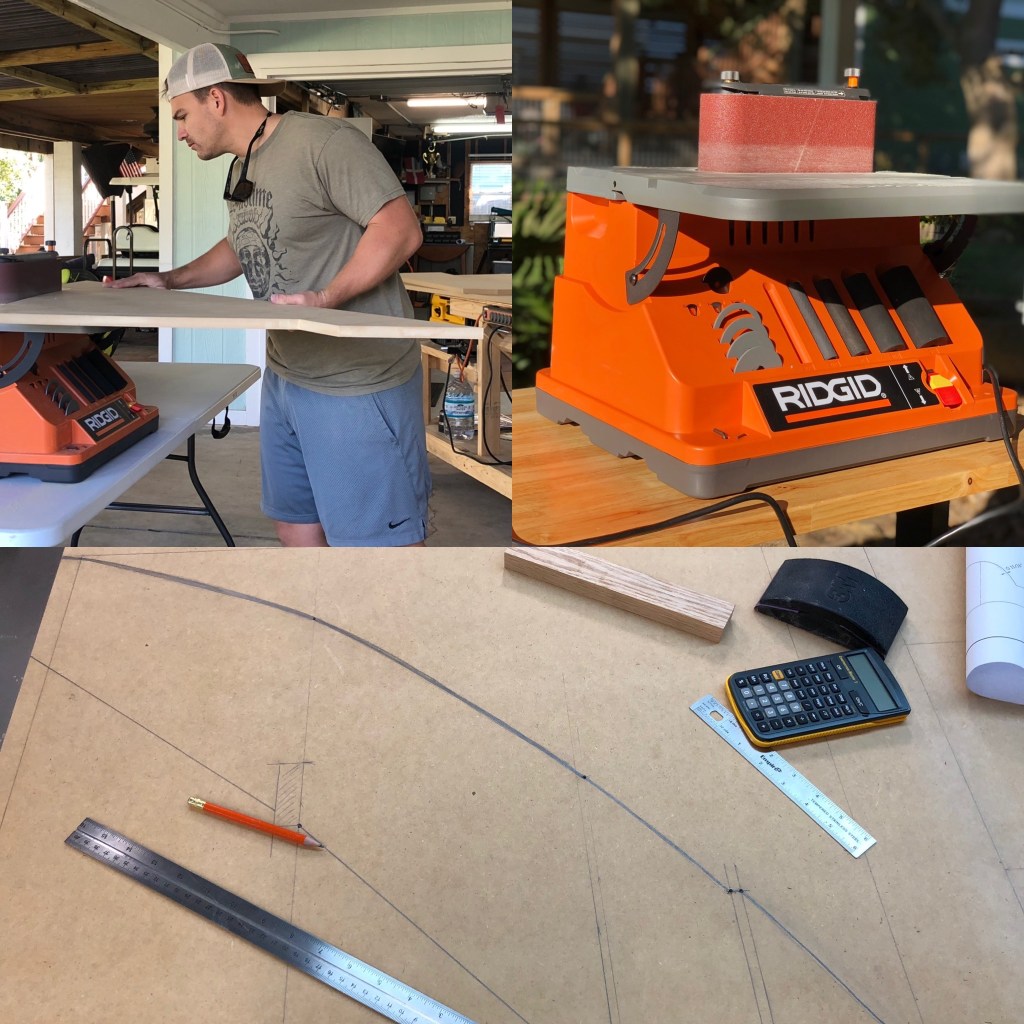
Now if you have never read a set of drawings before the first thing you must have is a scale. The drawings, when printed to full size, are in 1:8 scale. So I chose to use the 20 scale. This means for each measurement using the scale, I divide by 3 and convert to feet. Another thing you’ll want to invest in is a Construction Calculator. For me, adding and subtracting this many fractions would have resulted in a meltdown very quickly.
The fist step in the process is building the “strongback.” I like to think of the strongback as the foundation and like any foundation, it needs to be right or the rest of the build could be affected. The strongback is the frame that the hull will be built on. After the hull is complete and flipped over, the strongback is used as a cradle for the boat as you build out the rest. I imagine before the boat gets too heavy I will want to move it to a trailer but that’s months and months away.
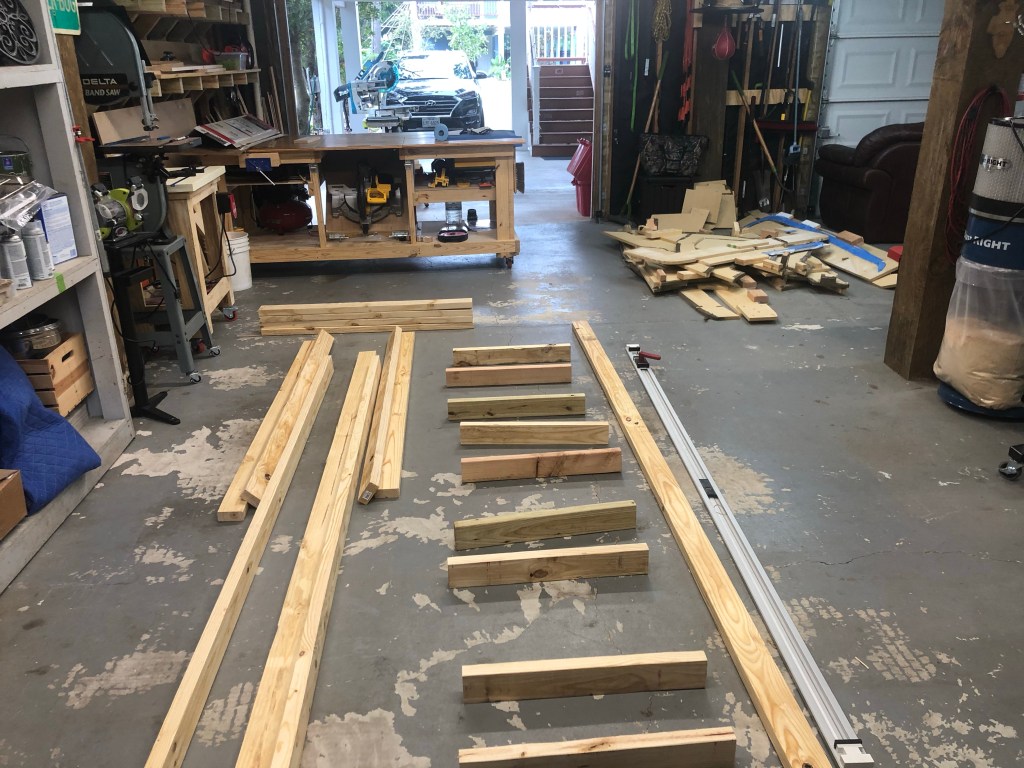
I built my strongback out of 2x4s and followed the plans. However there are many pictures of other people building this boat whose strongback looked different than mine. I lacked the confidence to go rouge.
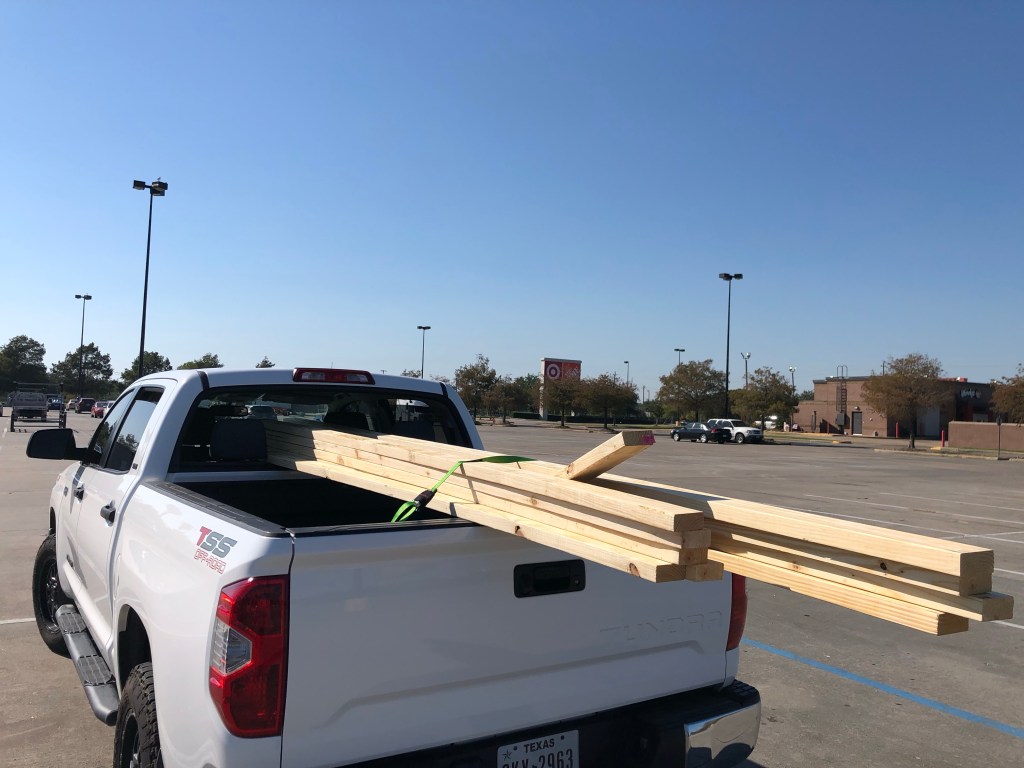
Picked up my lumber from the home center and spent what seemed like forever looking for straight boards. I always take a pocket humidity meter with me and make sure I’m not grabbing wet lumber that will bend and bow once I get it home. I also like to check their “trueness” by placing them against one of the store’s I-Beams. I get some weird looks but I don’t care because nothing is more frustrating than getting home and realizing your lumber is only good for firewood.

With the lumber and drawings in the garage, I had no excuse but to get started.
I have a background in civil construction so a foundation is very important to me. It needs to be square, level, and strong. The first obstacle I ran into was the unevenness of my garage floor. It’s almost as if the crew that poured the floor used a straight edge from the tree pictured above. I worked pretty hard to use shims and move around the strongback to get it as flat as possible.
Key lesson that I later realized was that a lot of the unevenness of the floor can be corrected when the stations are stood up in the strong back. They wont sit directly on the frame and should be adjusted when screwed in.


I used the same 17” board to check the spacing on the upper spacings. There is one spacing that is not 17” so make sure and check the plans. I also learned later on that the 2x4s in the left side of the photo above needed to be cut flush to allow for building the transom.
As I mentioned previously, I purchased some precut used material (stations, transom pieces, keel, and sheer flange) that someone locally had used for the same build. In the photo below I laid them out on the strongback trying to figure out the puzzle. Upon inspection I determined that I needed rebuild a few of the pieces. (Previous builder shortened his build slightly to fit in his garage).
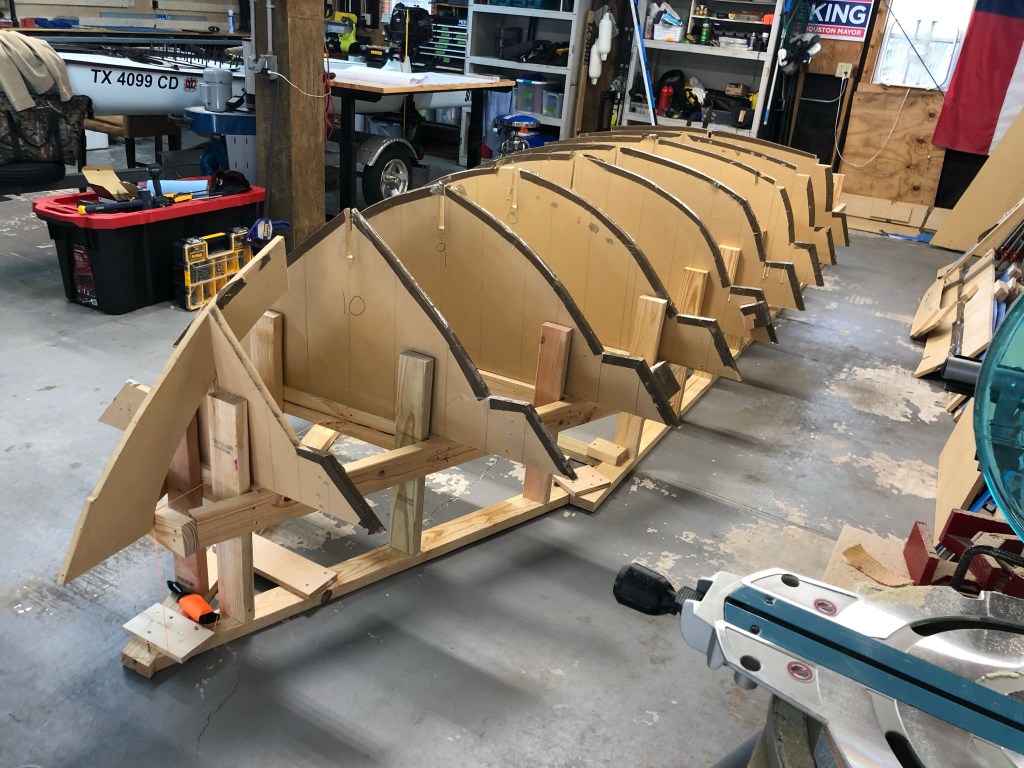
I went ahead and rebuilt 3 stations, the sheer flange, and the keel. (As I’m writing this I have yet to put together the curved transom, so unsure if those will need to be redone.


I’m currently trying to get everything “dry fitted” before I start to fasten things together. I feel good about the quality of the current progress. Honestly, I thought I would be further along but life sometimes gets in the way.
Now that the blog is caught up with me, I should be able to post more frequently with less material. Thanks for reading!

“It’s the start that stops most people”
Don Shula

Excellent work! Progress is steady and your moves are calculated. Keep the content coming.
LikeLike