I didn’t make much progress the last two weekends due to a couple days on the water. So my progress lately has been in bits and pieces. Slowly but surely I’ll get there. I’ll admit there have been times I’ve wanted to just quit, buy a new boat, and get on the water. My mom, who is full of wisdom, reminded me happiness is not in the destination, it’s in the journey. So journey on I go.
In my previous post I had just completed cutting out the sheer flange. This post I step out the process for securing the sheer flange to the stations, and the stations to the strong back.
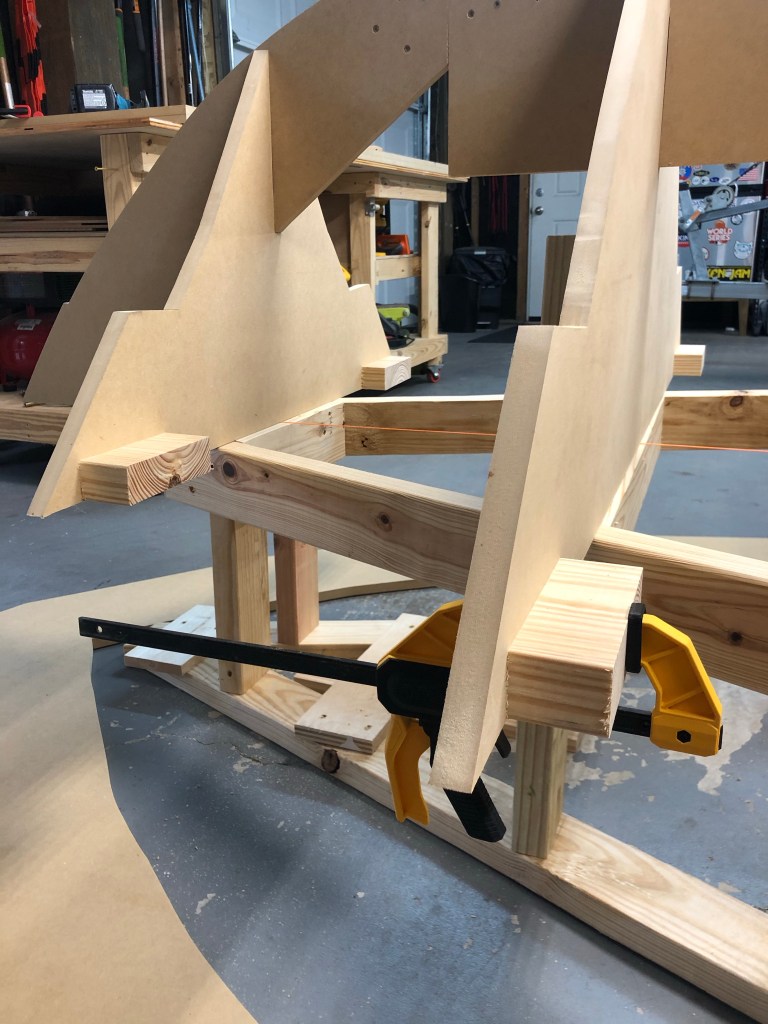


So now that I have the sheer flange secured, next step is to get the entire thing level and to fasten the stations to the strong back.
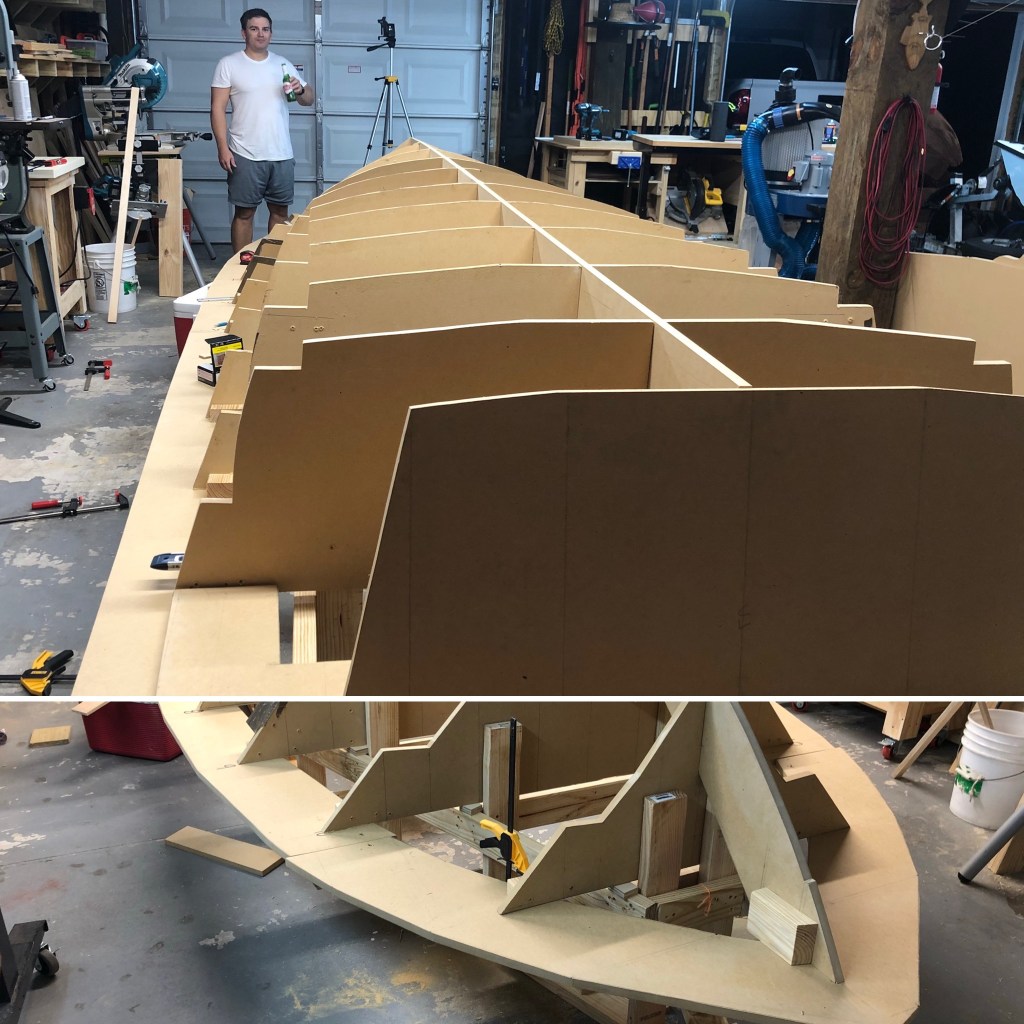
The first idea I had was to work around the sheer flange with levels, making incremental adjustments with shims under the stations. After getting the port side complete, I fastened the port side of the stations to the strongback and moved over to the starboard side.
As I got closer to the bow on either side I was having a lot of trouble getting that section level. I was dealing with multiple variables (big dip in shop floor, crooked lumber in strongback, my own human errors). Furthermore, as I was making all these adjustments and bouncing back and forth, I managed to get the keel out of wack.
I was getting frustrated so I took the rest of the day off and came back with a clear head the next morning. Wouldn’t you know it, that worked. I had a eureka moment that was going to help me get it perfect.
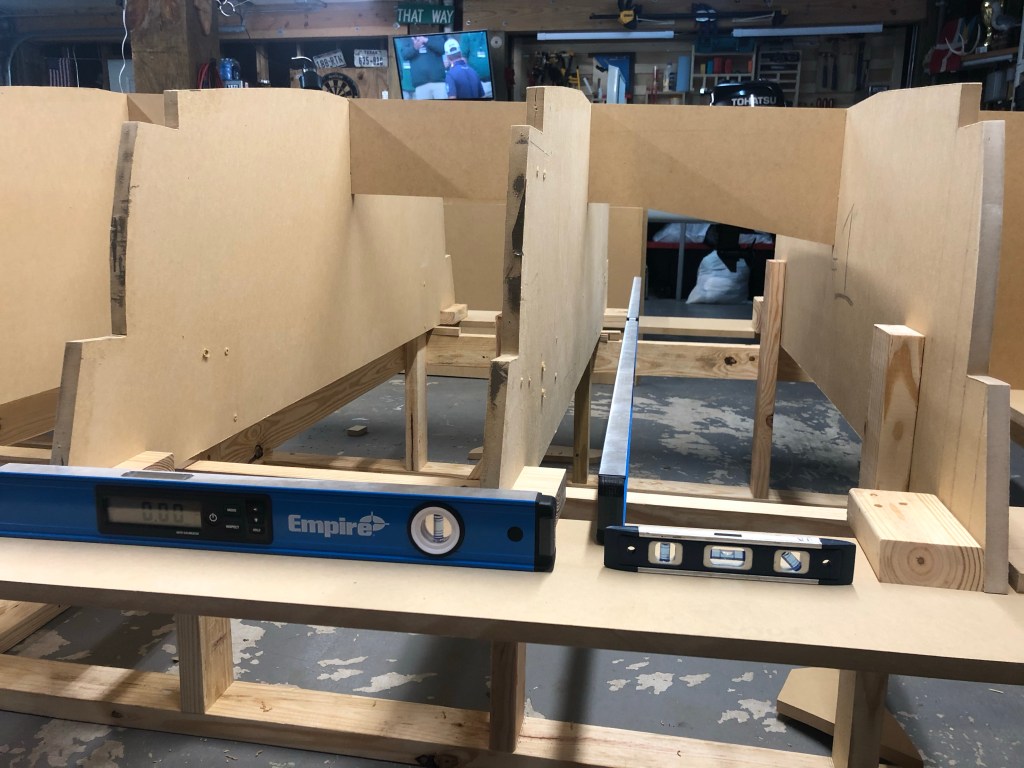
My laser I bought was able to shoot a vertical line as shown above, but was also capable of shooting a horizontal line. With that horizontal line, I could use a method I learned back in my civil construction days to get a consistent (level) elevation.

I set the laser up off the mid-ship starboard and had it project a horizontal line. I grabbed a box level because it’s straight and can stand, and set it on the aft station on the sheer flange. I marked a line on the level where the laser hit. Then it was as easy as moving the level to different points along the sheer and adjusting the station heights with shims up and down until every location I put the level had the laser land perfectly on my mark.
After I felt I got the entire elevation perfect, I rechecked the keel for straightness and then fastened it all together.
Now it’s off to build the rounded transom… Thanks for reading!
There is no such thing as Perfection. But in striving for perfection, we can achieve Excellence.
Vince Lombardi
