About the time of the last post I decided to create an Instagram account dedicated to posting updates on the build. It’s been way easier to post pictures on there rather than posting details on the here. I’m working on catchup, but I’m a little behind.
The Instagram name is: The_Mullett_Shepherd

The Mullet Shepherd is what I have decided to name the skiff and above is the logo I created. I’ll make another post someday about how i came up with it.
Foam!
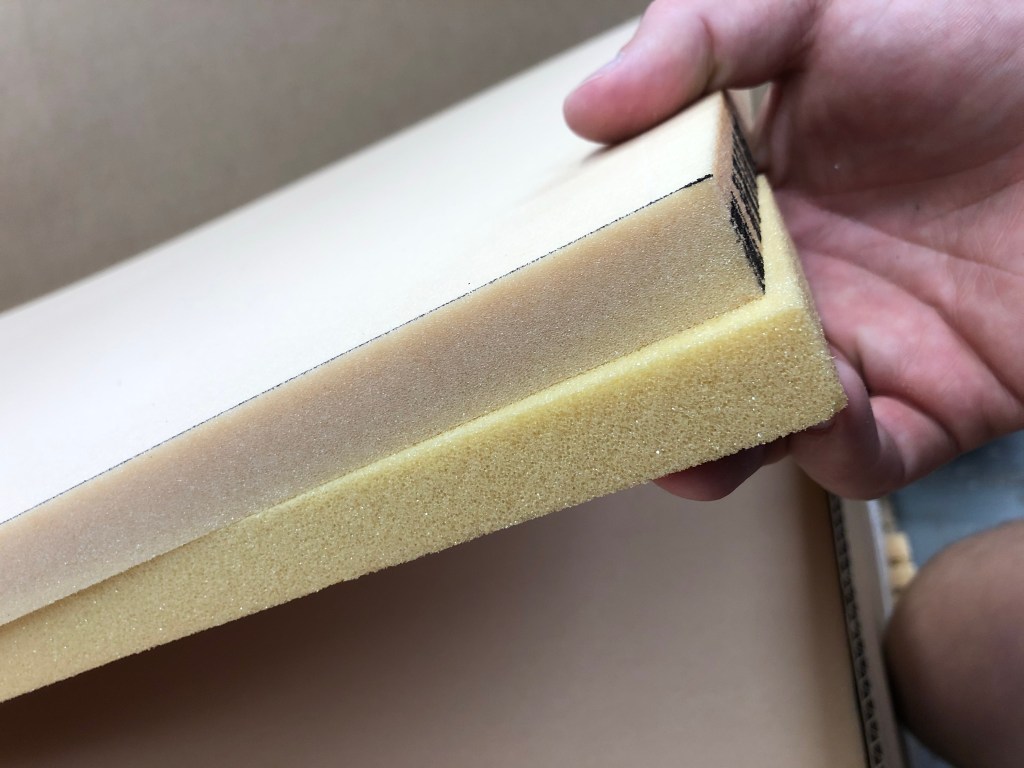
As previously mentioned, getting the foam from the EU to my house in Texas took much longer than I originally planned for. There are other foams that I found to be more readily available but the top of the line product was the one I wanted. I had been given some Carbon Core 6# foam scrap pieces that was used on other builds. First impression was that the H80 was much more dense with less voids. Also it is more difficult to dent with my finger pressure than the CC6#.
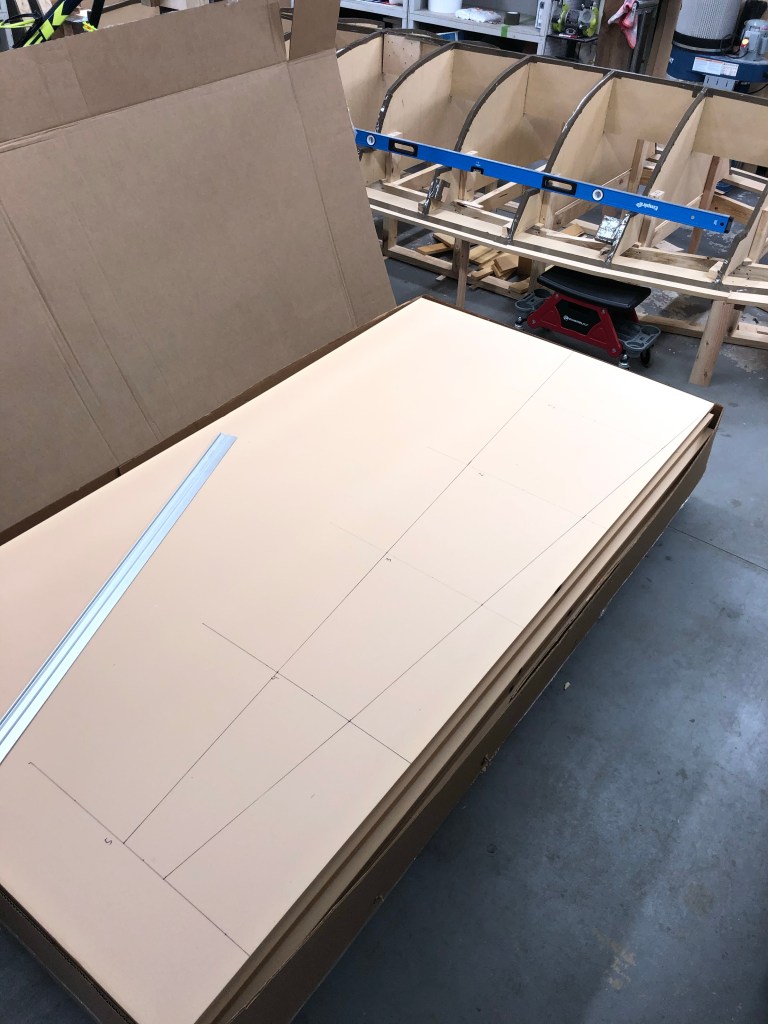
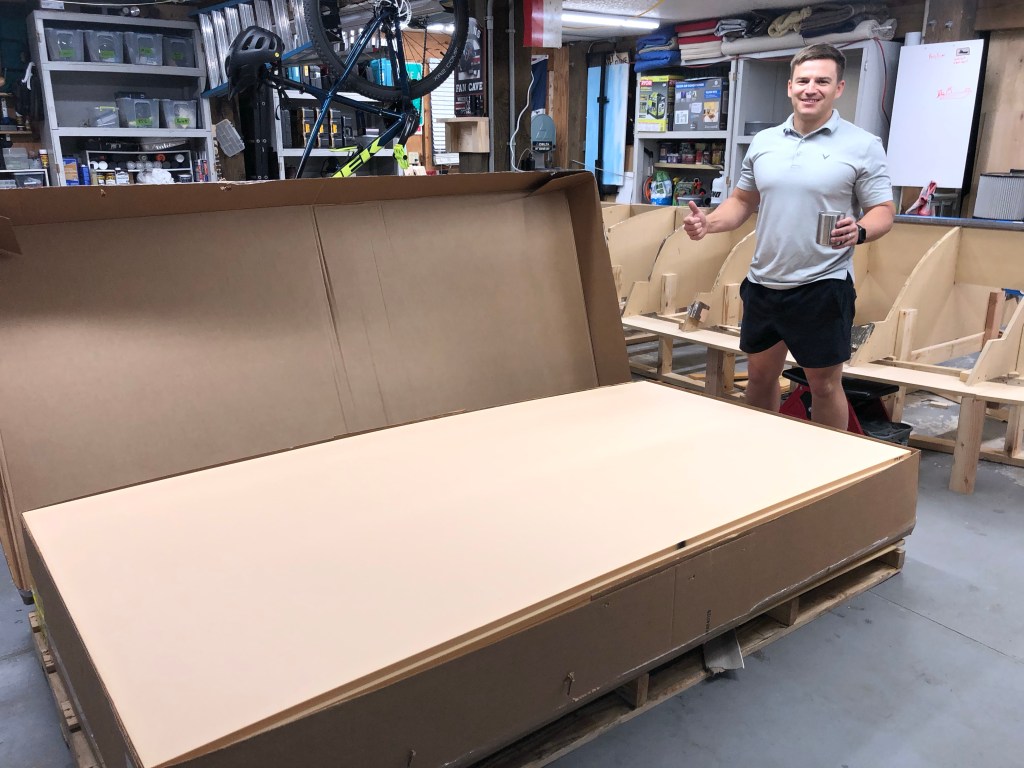
The foam comes in 4’x8’ sheets. I ordered 15. When you look at a box of it stacked on top of itself, I’l admit it is pretty daunting to think that you need to turn those flat pieces into a three dimensional shape. My strategy was to start with the big pieces and then work with the smaller drop pieces to fill in the rest.
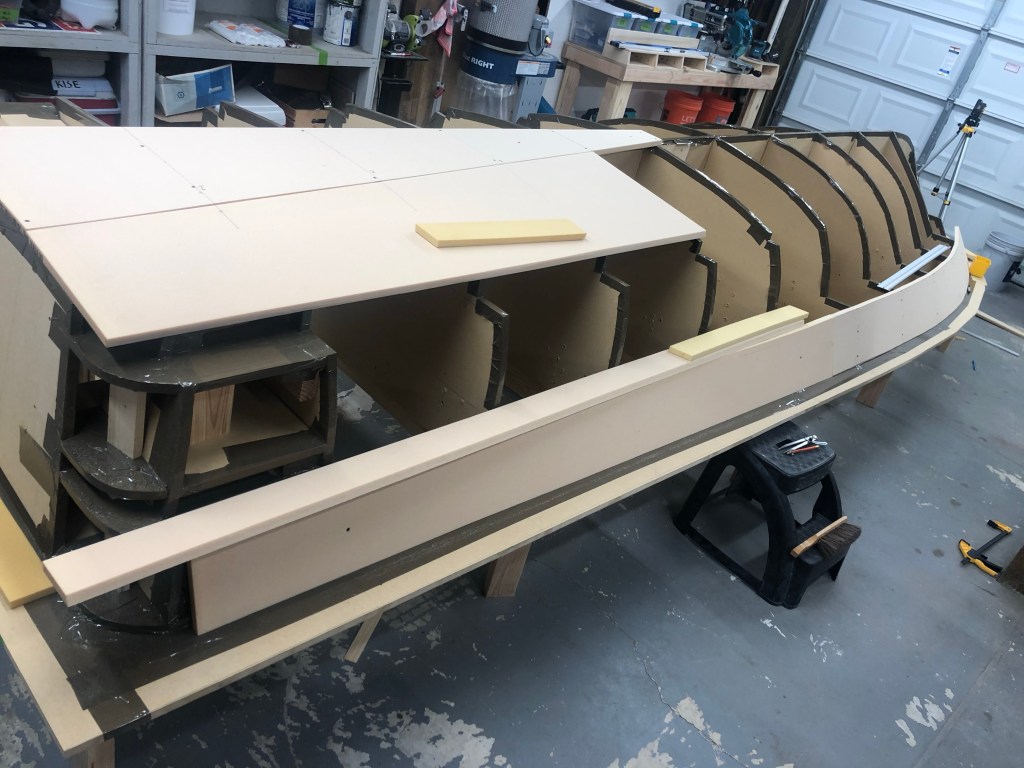
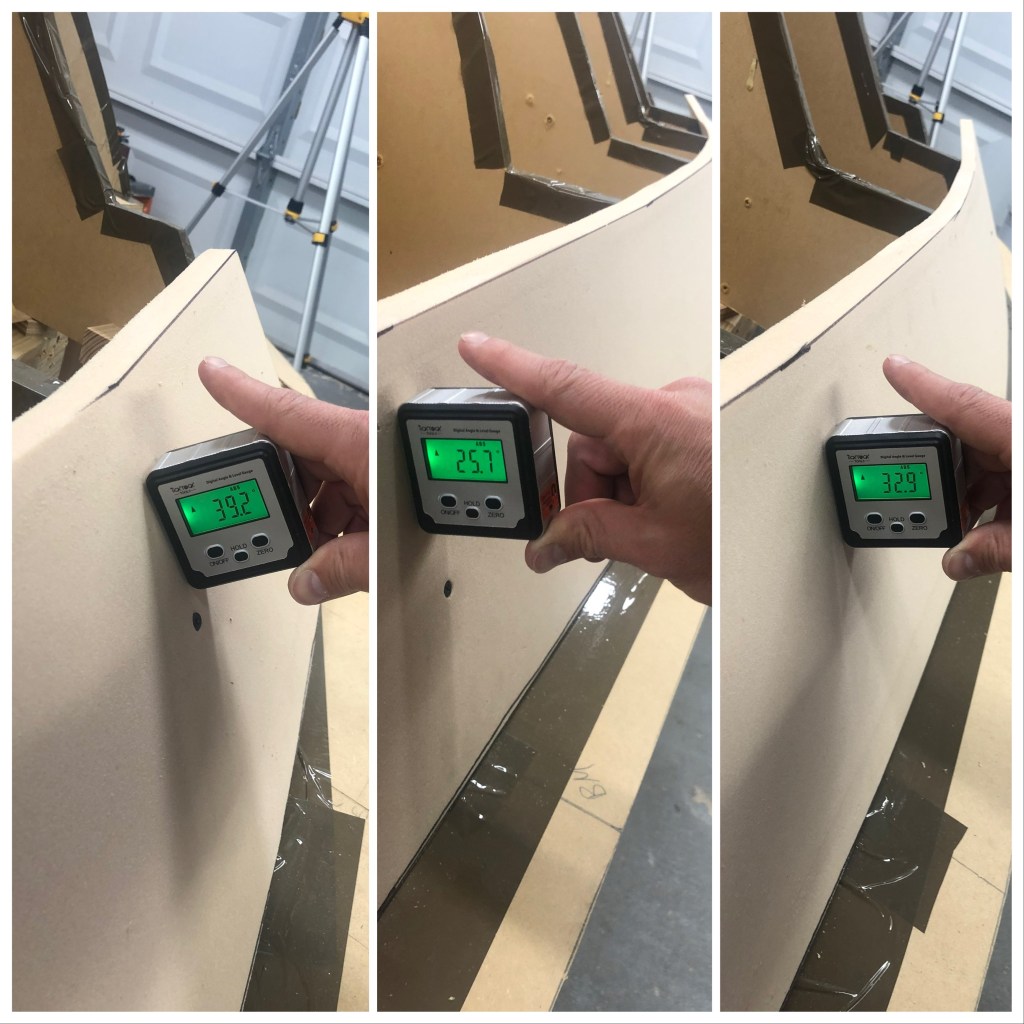
I put a lot of focus on getting the seams to meet evenly on the keel. I used a laser at times to make sure it was lining up perfect.
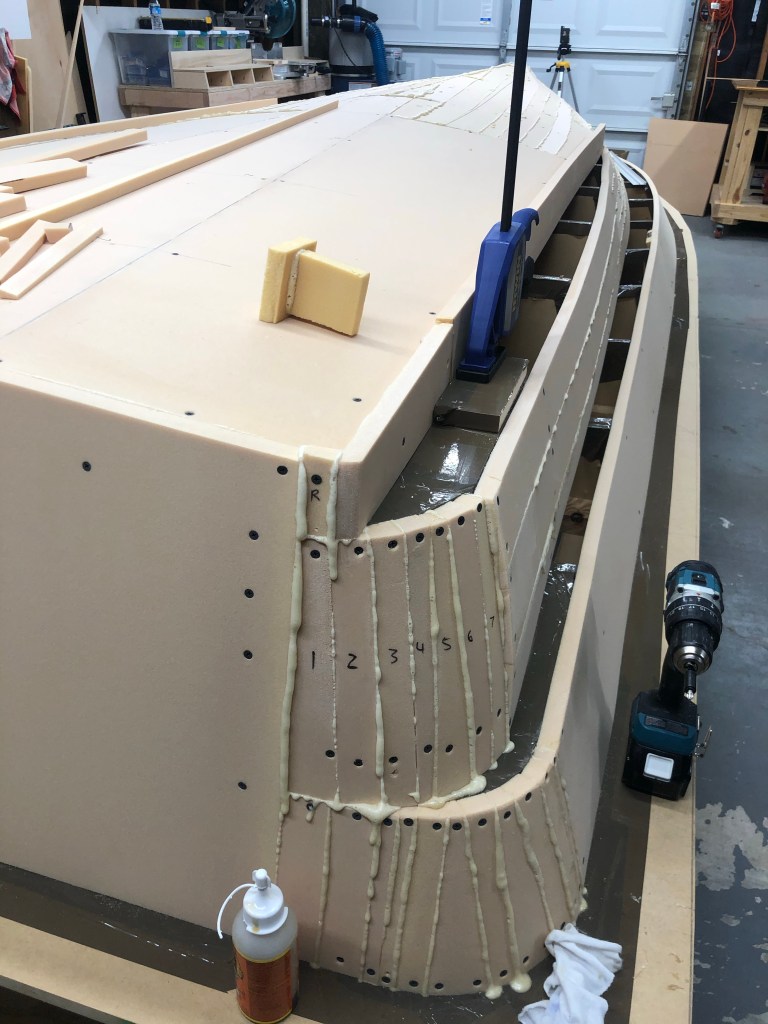
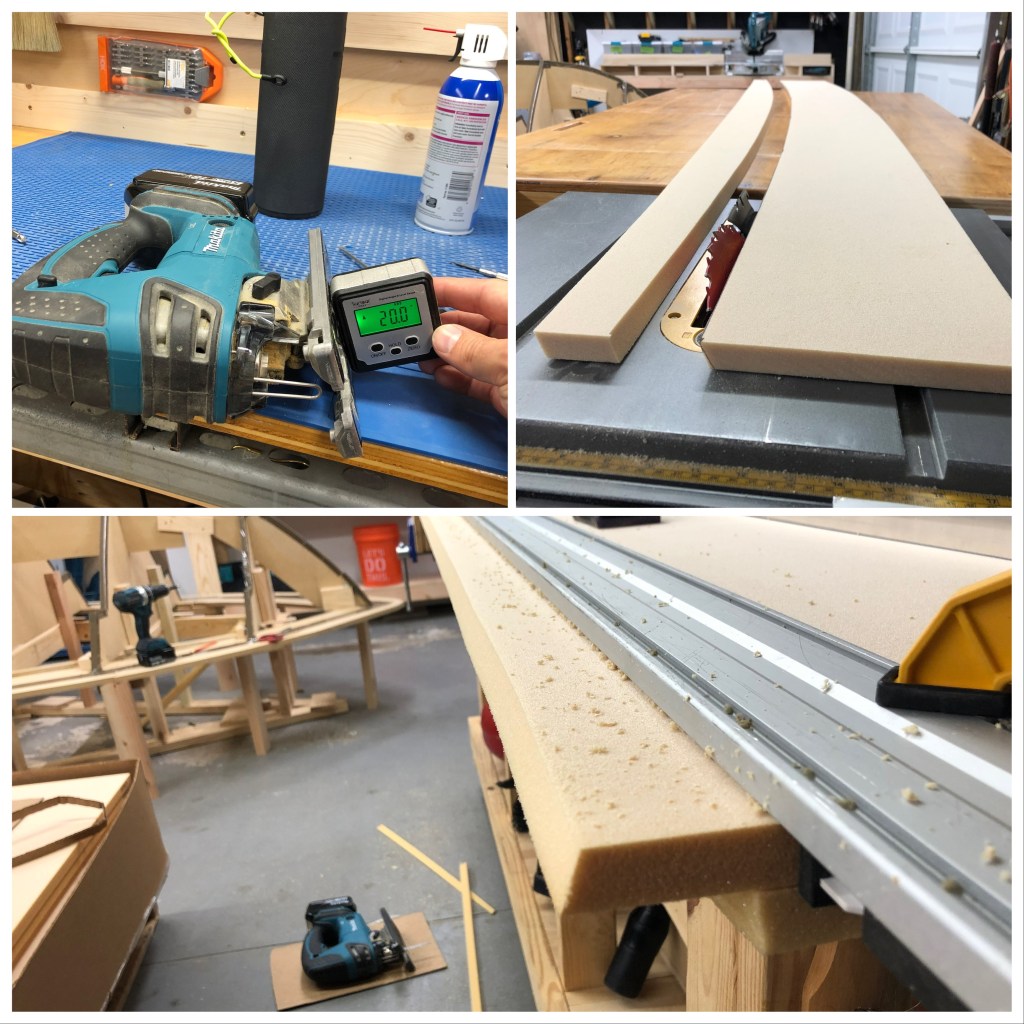
The rounded transom was one of the more difficult sections to do. Smaller pieces and a hand tools to file/sand are critical.

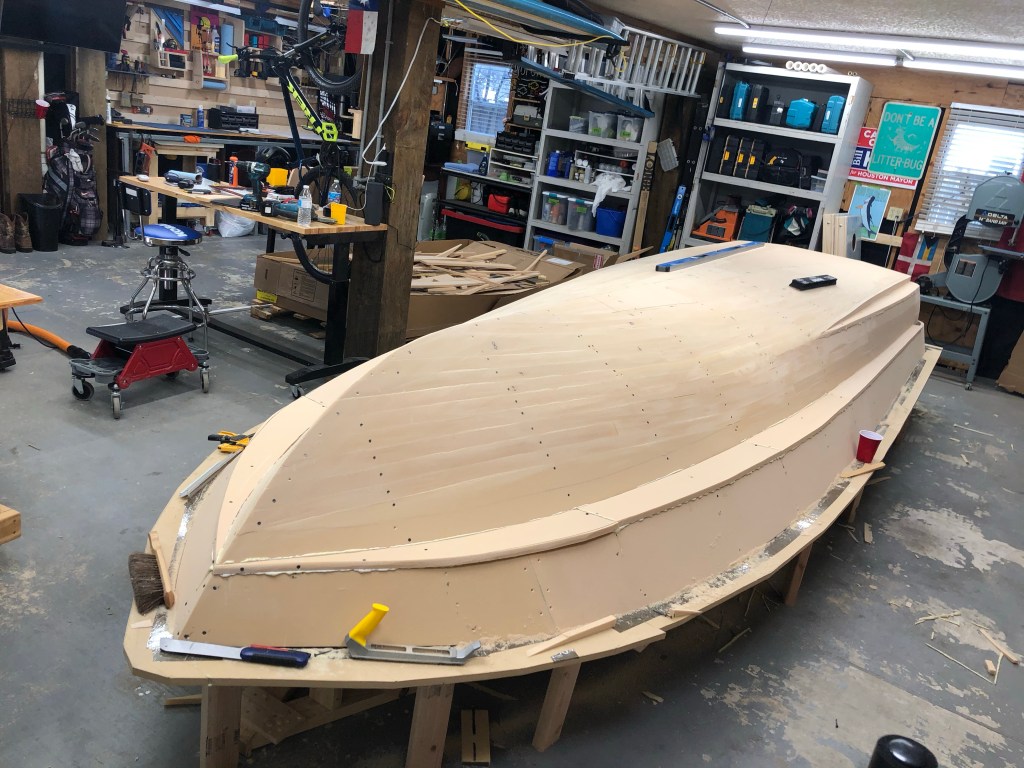
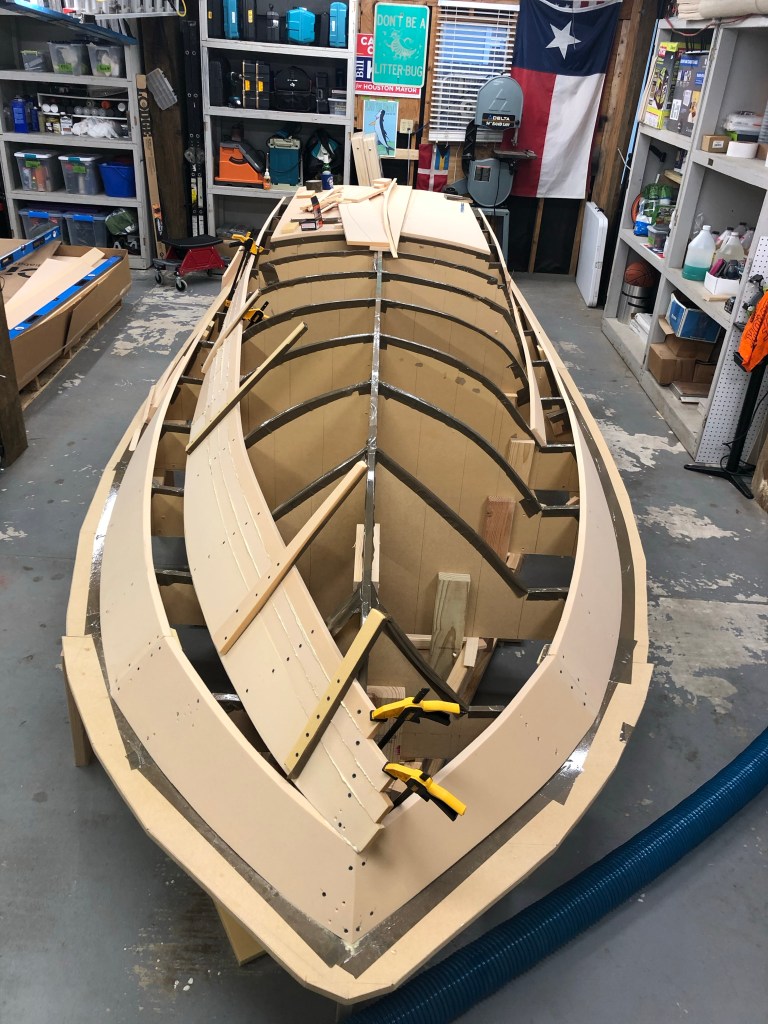
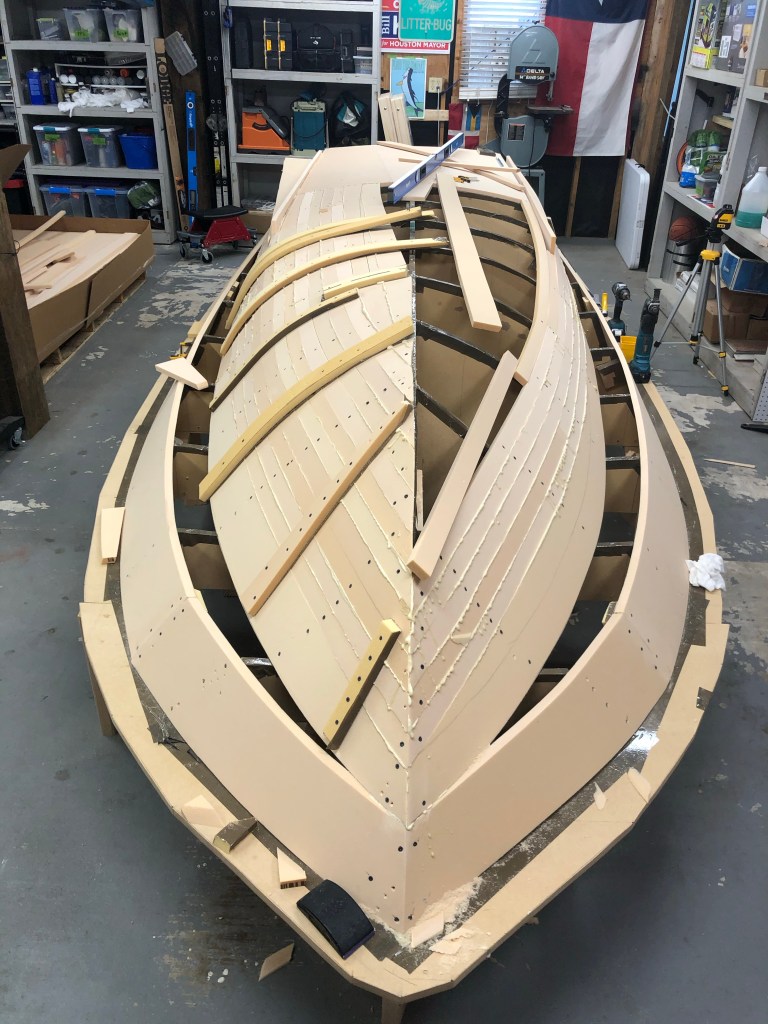
This is a pretty cool milestone. It’s not pretty but it finally is starting to look like a skiff!
