As mentioned in the previous post, I’m playing some catch up when it comes to writing these. This gives me the benefit of hindsight when writing, and for this stage that will be very beneficial to the reader who is looking for guidance on their own build.
SHAPING FOAM IS EASIER THAN SHAPING FIBERGLASS/FAIRING COMPOUND!!
Now is the easiest opportunity to spend some extra time getting the hull shaped and fair. Later on it becomes more more labor intensive to remove material. When I finished this stage, I felt I had it really close to being perfect. Later on after I got the glass on and fairing compound I found myself spending hours fixing some things that could have been done in minutes if I was only working with foam. So, if you taking on project like this, I strongly recommend taking your time on this stage.
Here are the steps I went through to take the boat from a bunch of screwed together roughed in foam, to being ready for glassing.

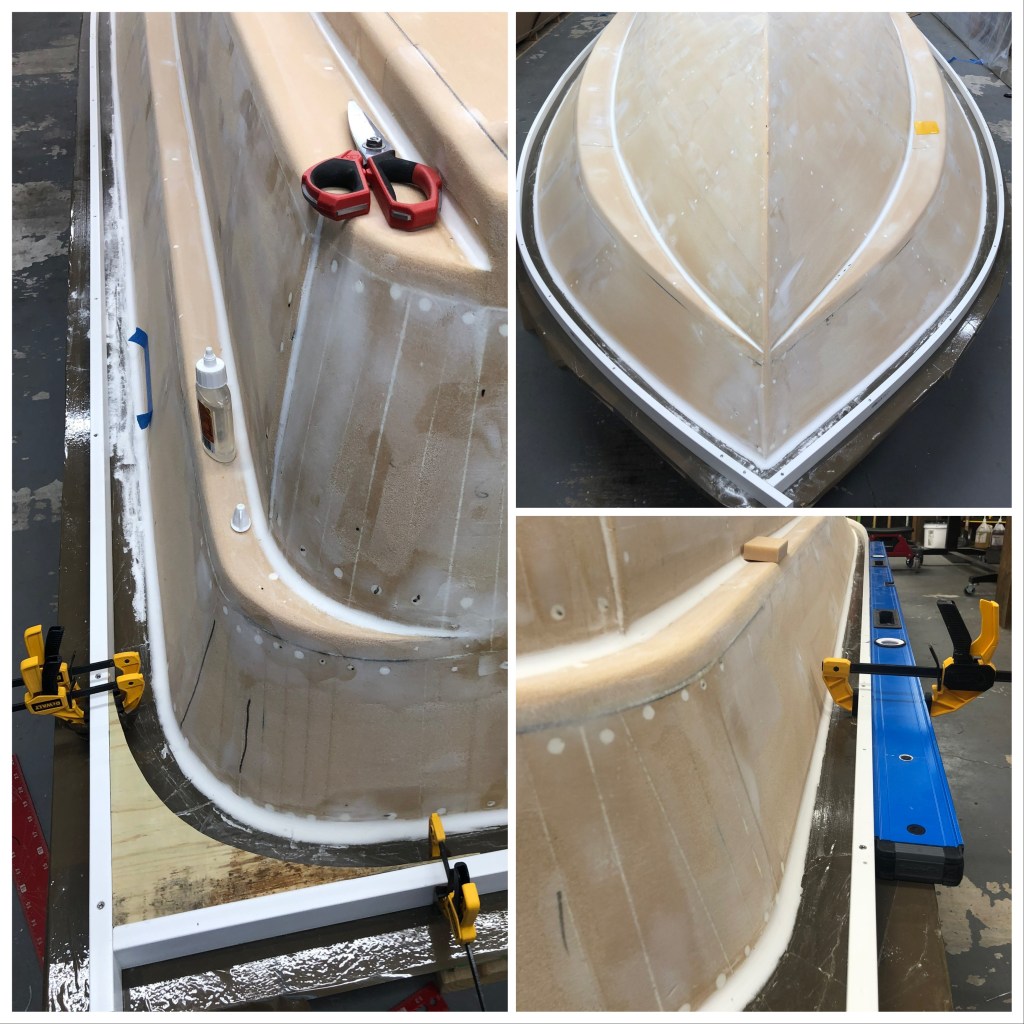
Next I began to remove the screws that held down the foam to the frame beneath. The thinking here is that once its all glued together, then it should stay in place with out screws. Any screws left in the foam will begin to get in the way as you sand the hull fair.
Pay close attention when removing the screws and look for any mocement in the foam. For me the running pad popped up when I pulled the screws so I had to get on the underside and secure it back down.
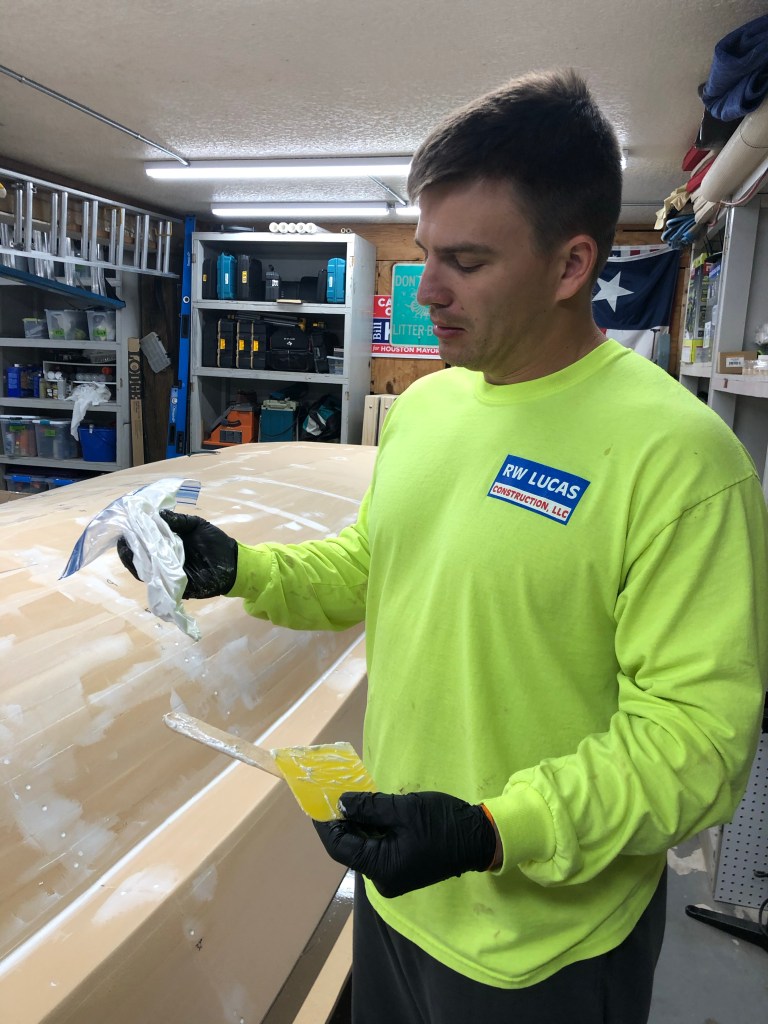
The common next step after removing the screws is to fill the holes left behind as well as all the other holes and gaps with a mixture of epoxy and glass bubbles. The issue with this is once you put a bunch of epoxy filler on the hull, you now have two different materials with different hardness that make it more challenging to sand. So rather than removing all the screws and then going straight to putting filler in the gaps/holes. I recommend taking some time to get the hull shaped as you remove the screws.
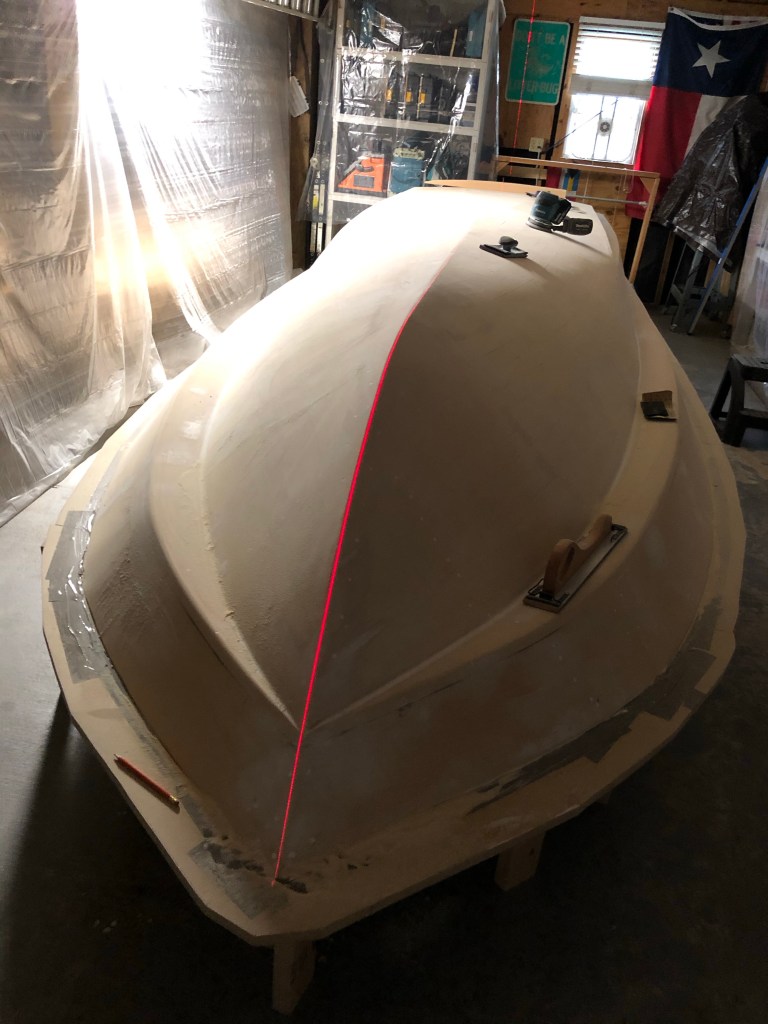
Its important at this stage to put focus on getting the hull shaped. I’m not nescesarlly referring to making sure the measurements match the drawings, but rather that everything is smooth and transitions well. For me, I used a combination of measurement tools but relied primarily on the feel of running my hands over the area and looking for shadows using lights at different angles. This helps you see where you need to sand.


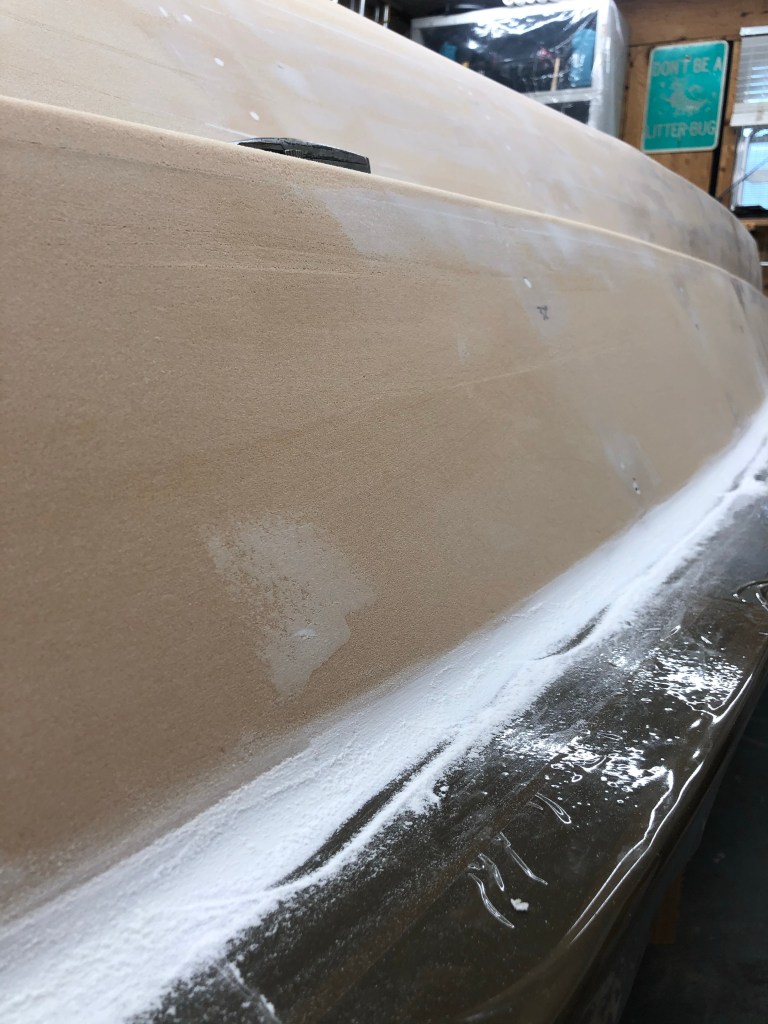

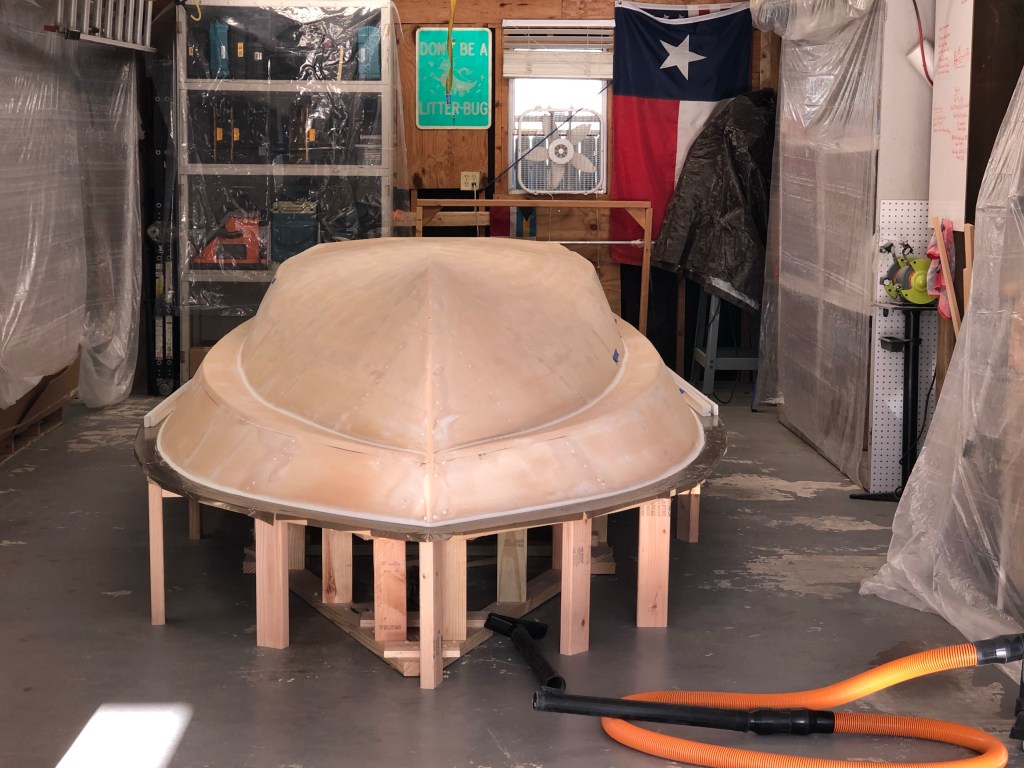
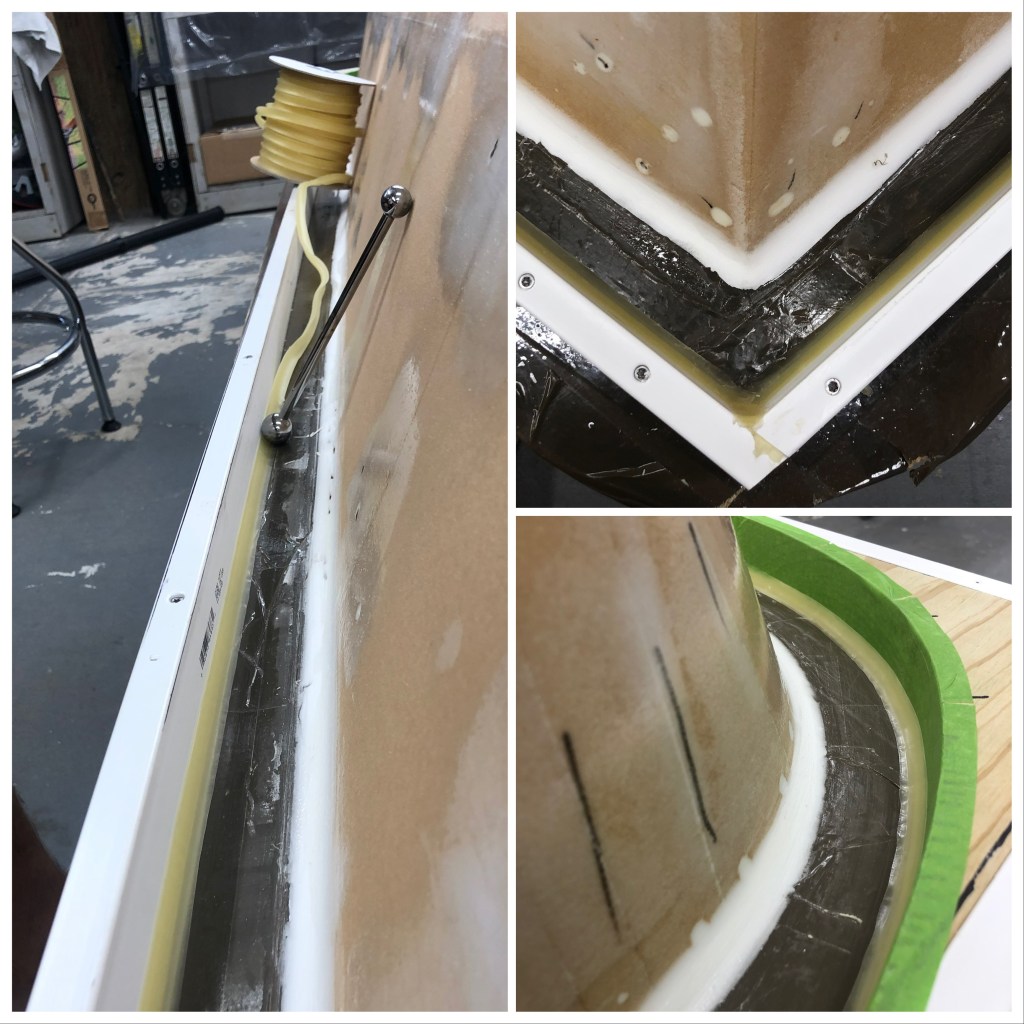
Next it was time to install the form for the return flange. This forms the outer/upper boarder of the hull. For this I made a template spacer out of foam to make sure I had about the same distance from the foam to the return flange (PVC trim piece from Home Depot). More important than the space between the boat and the outside form was that the outside form would be straight. This way even if the boat is not perfectly straight, it will appear that way and be easier to marry to the deck later.


I still have few more post to get caught up to my current progress, but I feel like I have some momentum so maybe I’ll get them out before to long. Thanks for reading!
