When I first created the title for this post, rather than laminating, I used the word “glassing”. But since my hull is not made with fiberglass I think that laminating is more appropriate.
As I may have already mentioned, I am laminating my skiff’s hull using Basalt. Basalt is more impact resistant than fiberglass, somewhat similar to Carbon Fiber or Kevlar. I chose basalt because for that extra durability, but mostly because the designer of this skiff (Chris Morejohn) used it when building the first Beryllium and has been an advocate for its use on hulls.
I said this at the end of the last post but it worth repeating….it is extremely important that before you begin to glass/laminate, that you coat the foam with resin. If you don’t do this, the foam will absorb the resin out of your material and leave you with lots of problems.
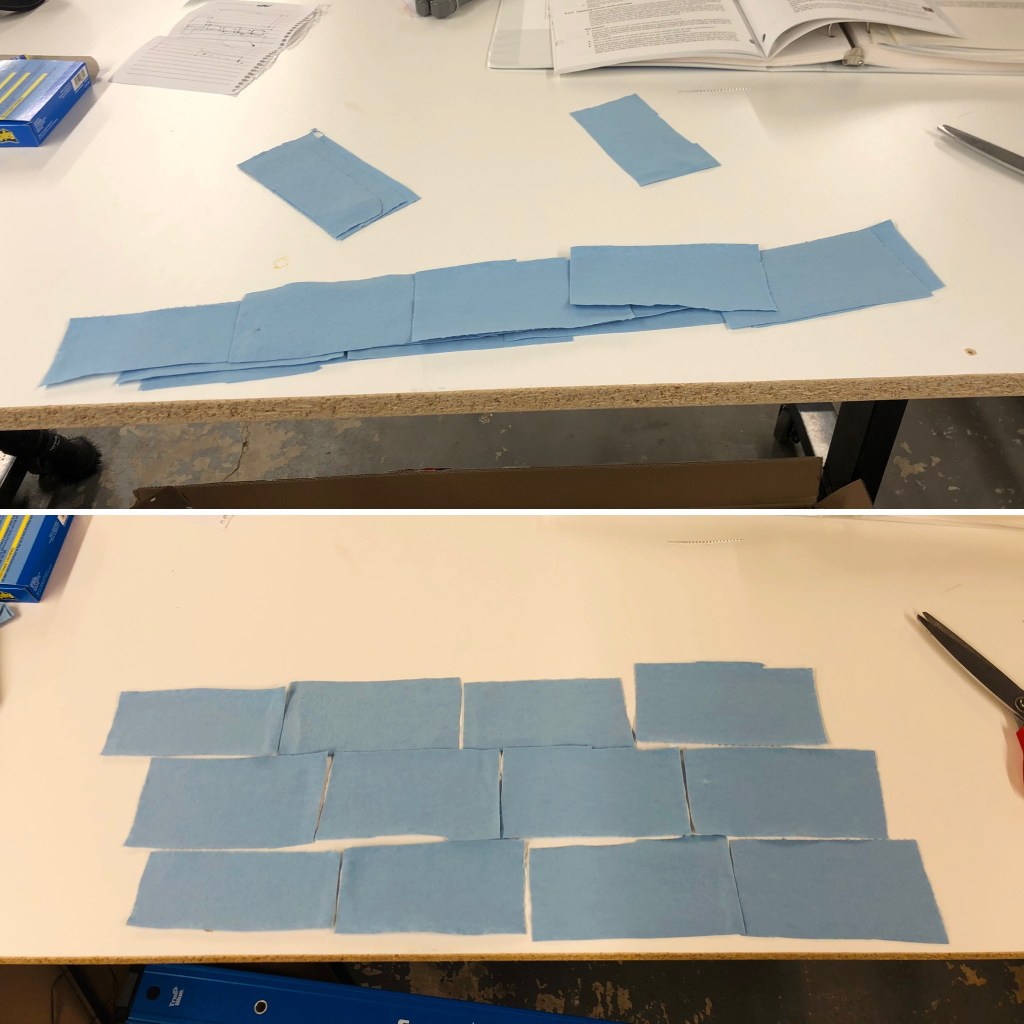
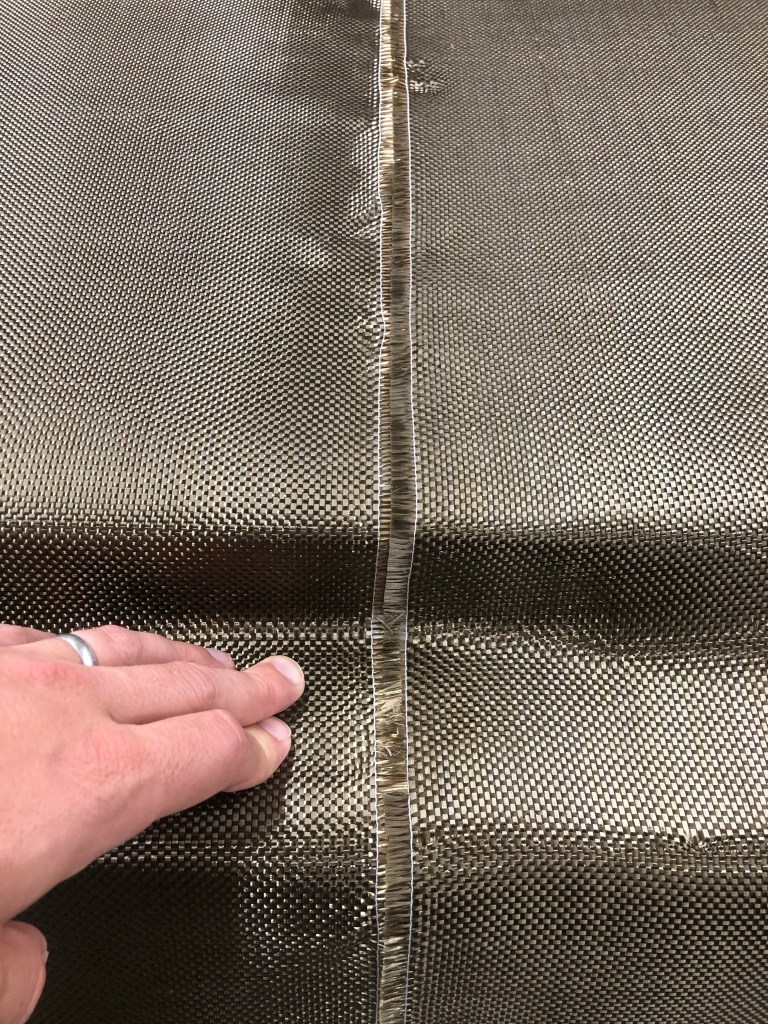
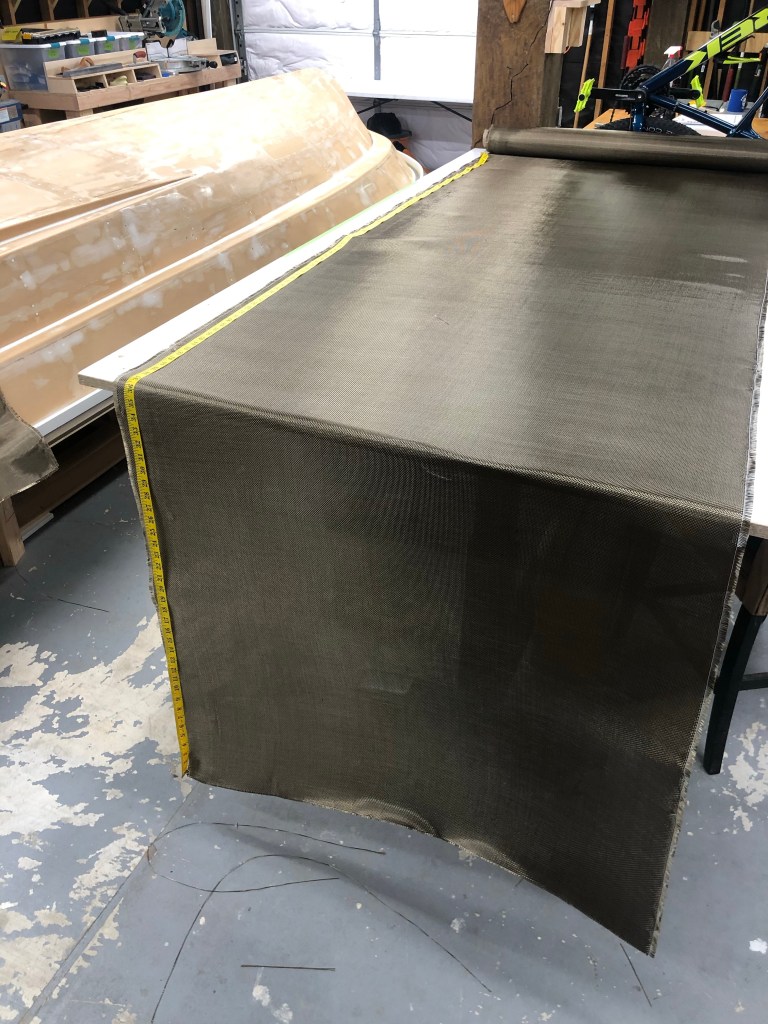
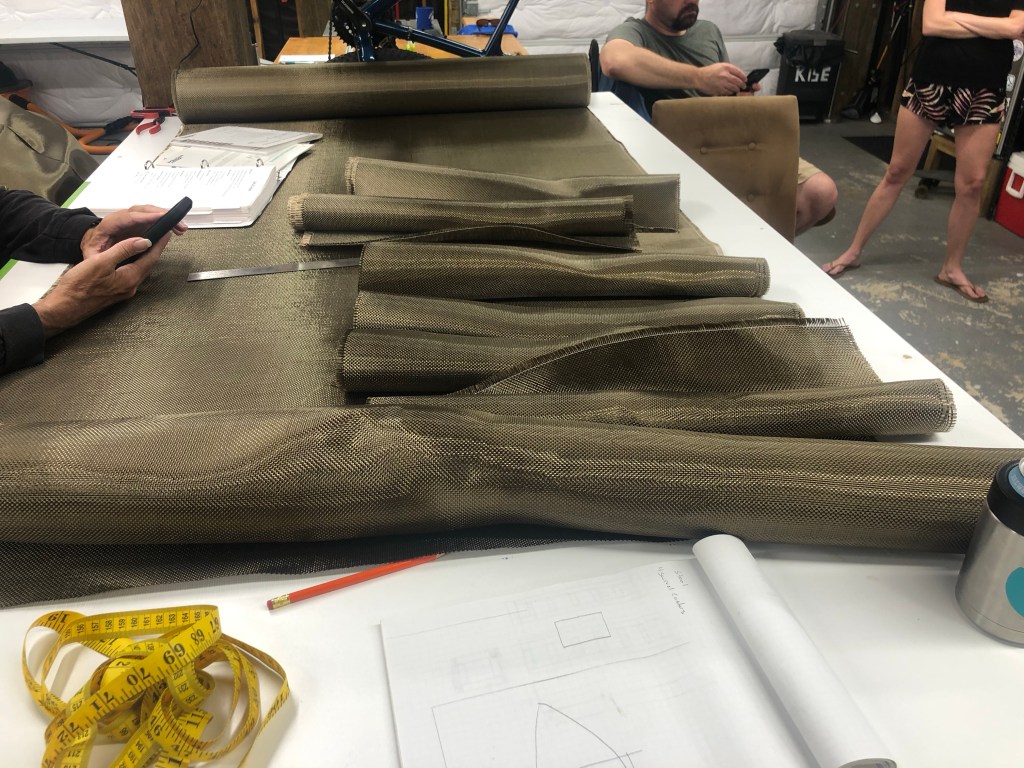
There are two pictures above…The bottom image is my lamination schedule. As you can see my plan was to have each seam meet the other but not overlap completely. I did this to avoid a big hump every seam that would require additional work to fair the whole hull. The upper image would have been if made every layer overlap. It would have effectively turned three layers into six layers at the seams. This is how I went about having the seams meet rather than overlap. With these staggered seams I was able to keep the bumps down to a minimum. For measuring, its super helpful to have one of these seamstress tapes. Since nothing is flat, its great to have something that can hug all the contours of the boat and the basalt. Many people have seen this, but for those that have not…once you measure out your length of fabric, pull a strand out with pliers. This will show you the straight line so you don’t cut across strands (Its can be a mess when you go to laminating if you have a bunch of loose ends). Here is a picture of laying out all the sheets. Its really important to have everything cut, laid out, and labeled before you ever start to mix the epoxy. You can see I put a black line with a marker down the middle of each piece. This really helped to keep everything centered and ensure I had enough on each side. Getting some help figuring out how to do the rounded transom pieces from my stepdad. He used to work for Hobie fabricating way back in the day so I made sure to take advantages of his experience. We used some paper to trace out these tricky pieces and it worked out pretty good. The calm before the storm. All the pieces are cut rolled up and staged around the garage, ready to go!
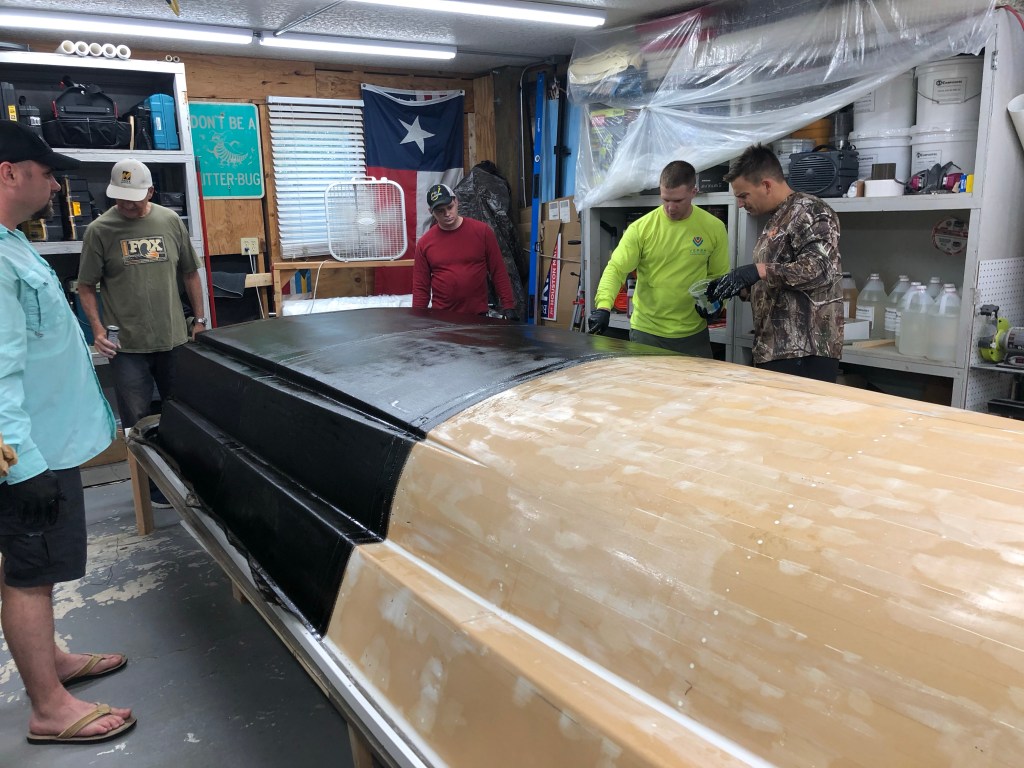
Everything was now prepped. I had 6 people committed to show up for the lamination day (a few more came by throughout the day). I got up early and got donuts and energy drinks for everyone. The team showed up about 0730 and we got to work. Big shout out to Corey, Hallet, Logan, Greg, David, and my wife Rebecca! We had the whole thing glassed in about 8 hours.
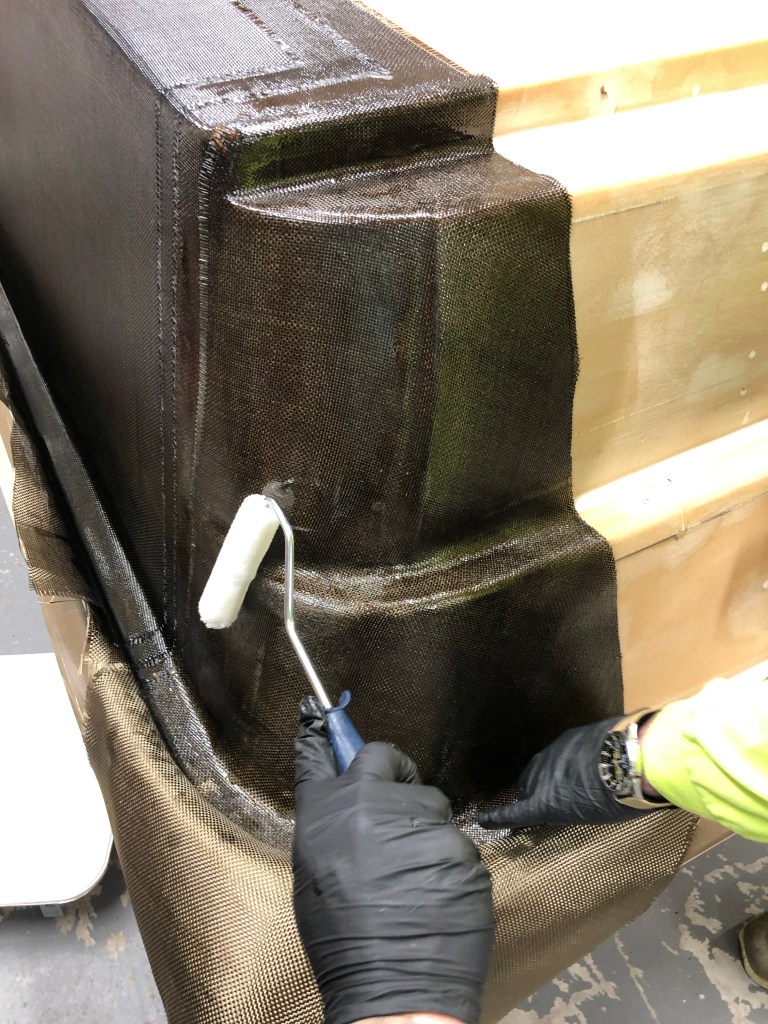
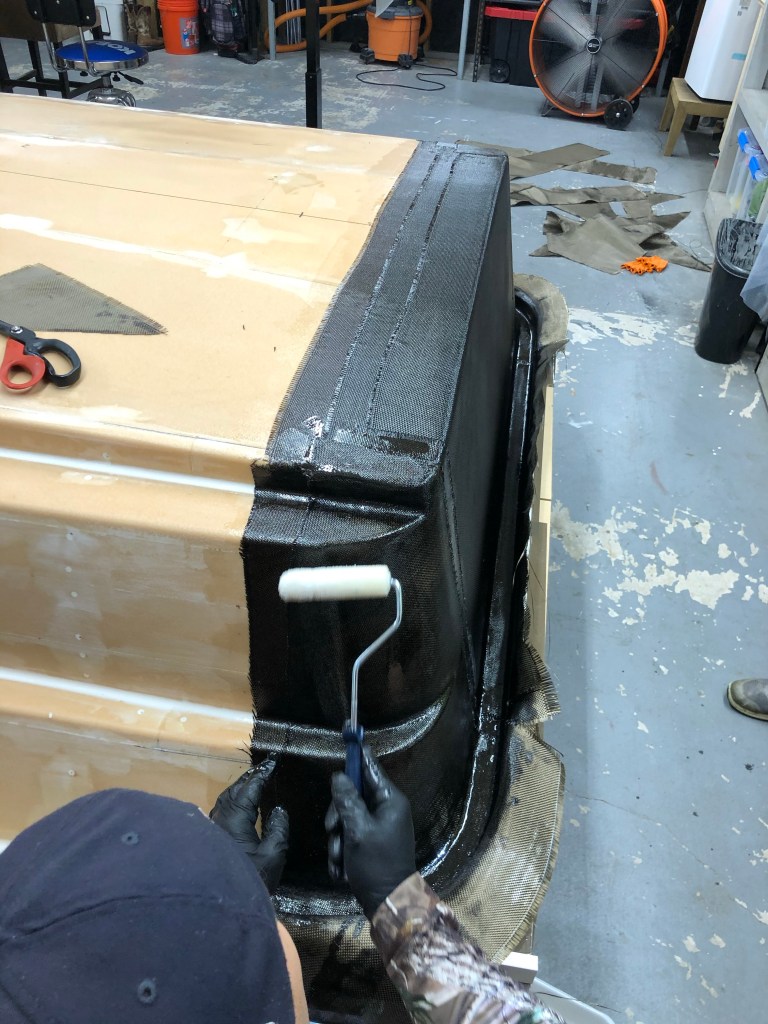
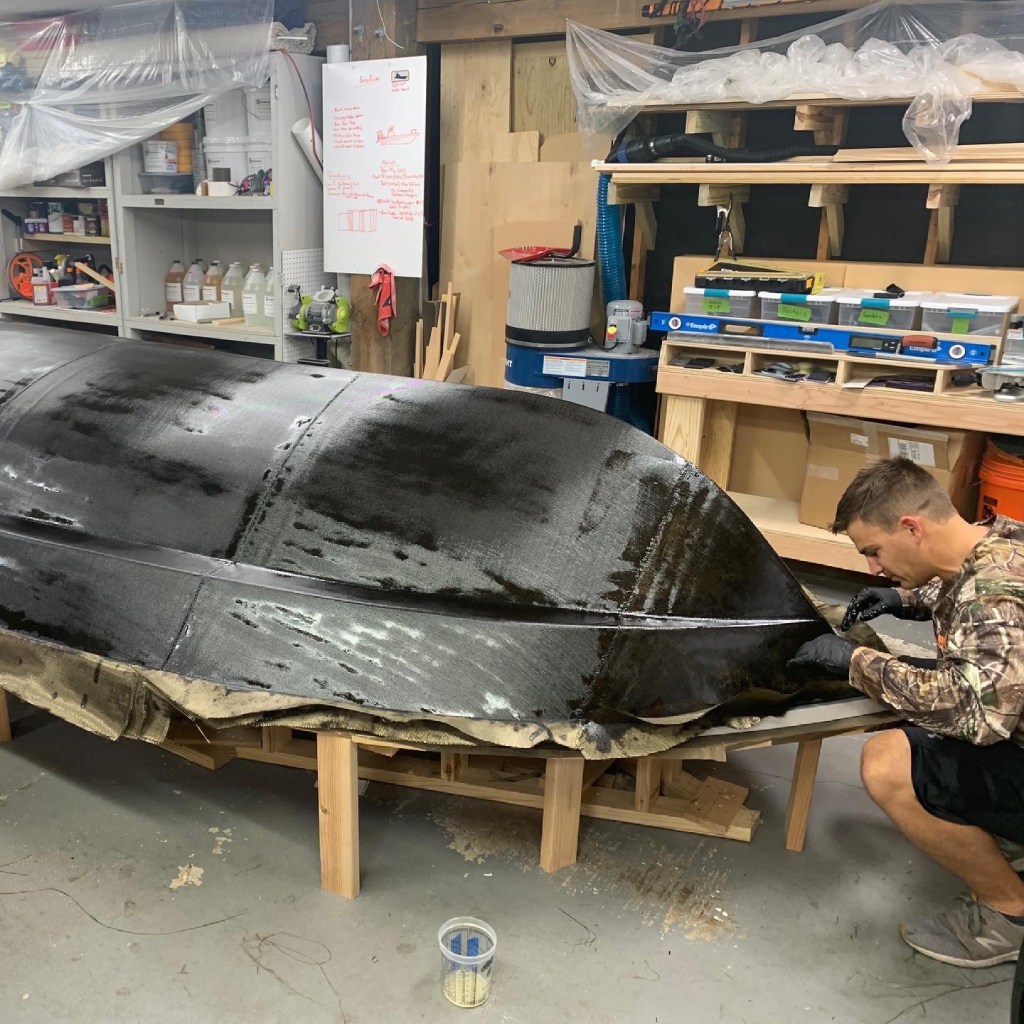
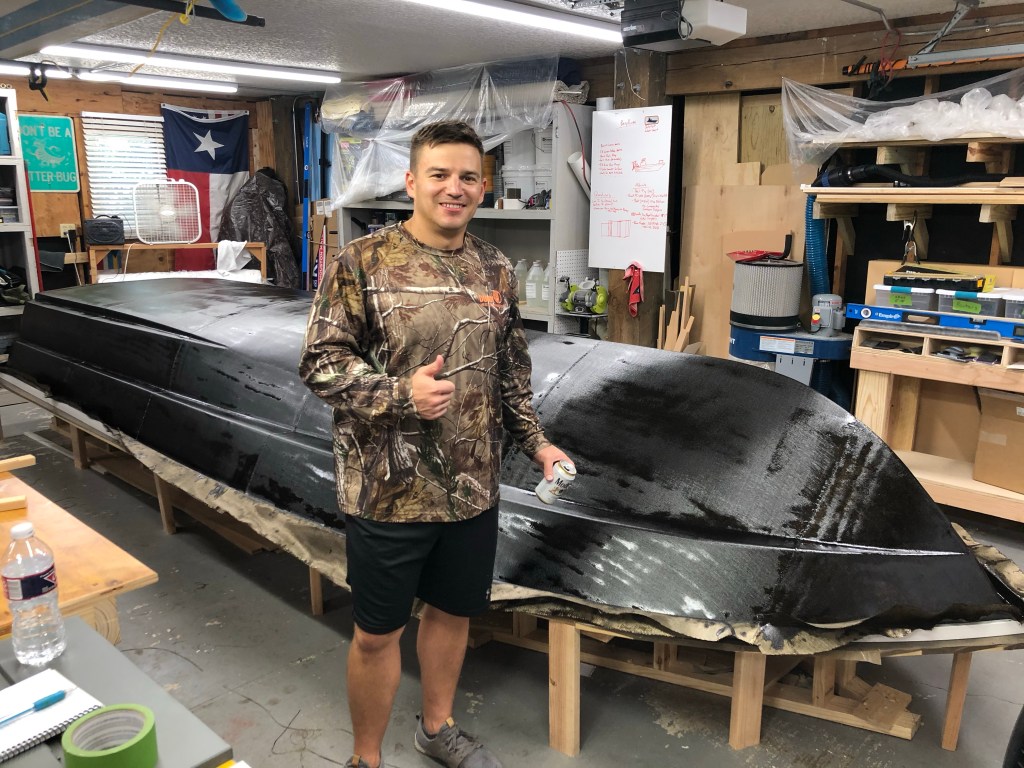
Started on the transom. Here we are rolling out the third piece of basalt. These corner pieces require a cut with scissors to help them wrap, but the basalt does really well to hug the corners. Notice the material hanging at the bottom. Its important to make sure that gets plenty of resin is it as well. That will form the sheer flange and could easily be forgotten. The little inside corner roller is definitely a useful tool to have!Team work makes the dream work! We had two people on either side. Corey (in the highlighter shirt) was my expert on hand since he had already built his Beryllium. Each of us played lead on either side of the skiff. Greg was the lead epoxy mixer. I set up an ergonomically friendly station for him you can see by the bow. In the picture above is Greg with epoxy in hand ready to pour wherever needed. The bow was a little tricky. I got a bubble in the area I am focusing on in this picture. I will post about that in the next post. So thankful to have a successful lamination. My first big milestone. I might have had a few cold beers afterwards…There it is, a Beryllium laminated in Basalt!
This was a lot of fun and I could not have done it without my friends. It went really well! A big piece of that success should be attributed to preparation. Thinking through all the things the team would need, making them easily accessible, and rehearsing beforehand.
In the next post I will share some of the things that didn’t go perfectly and how I remedied them.
“No one can whistle a symphony. It takes an orchestra to play it.”