The last post was focused on the brute force efforts on getting the hull to shape. This post is going to dive into some of the detailed steps required to finish the hull and get it ready for paint.
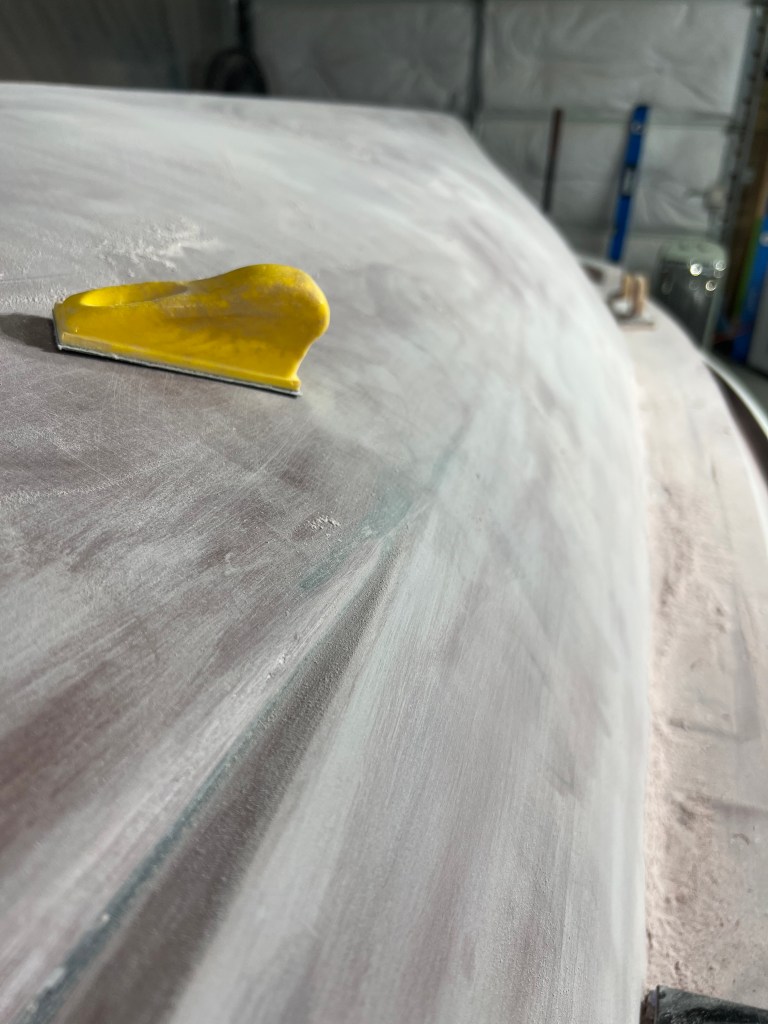
I believe it’s important that I give a shout out to an MVP of this stage, the little yellow sander above was a workhorse for the detailed sanding required at this stage. I found this on Amazon and was really happy with the flexibility of it.
In the picture above you can see the transition for where the lower shine fades into the hull. This take a lot of long blocking to get the blending close, then the little yellow sander to get in the insider corner. Later I will talk about the lip that goes on the chine but like with all things, the foundation is important.
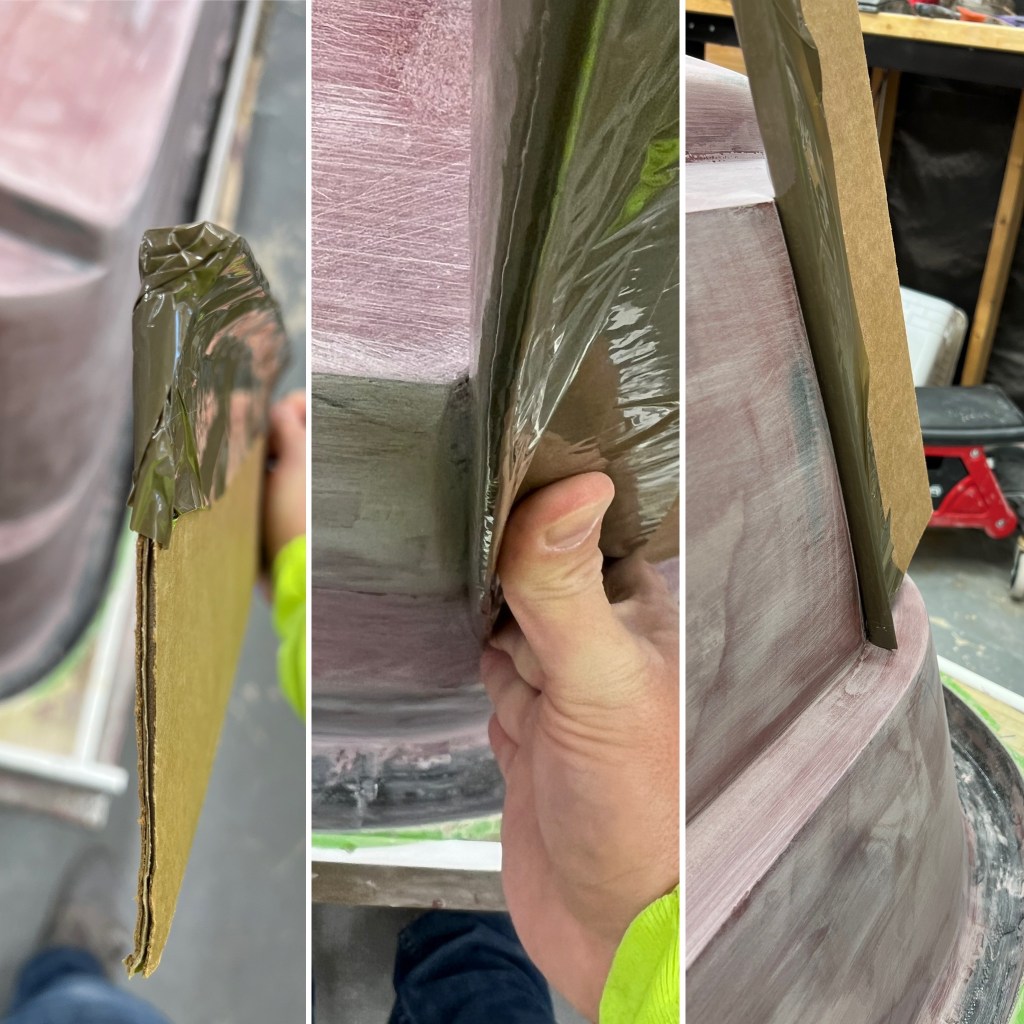
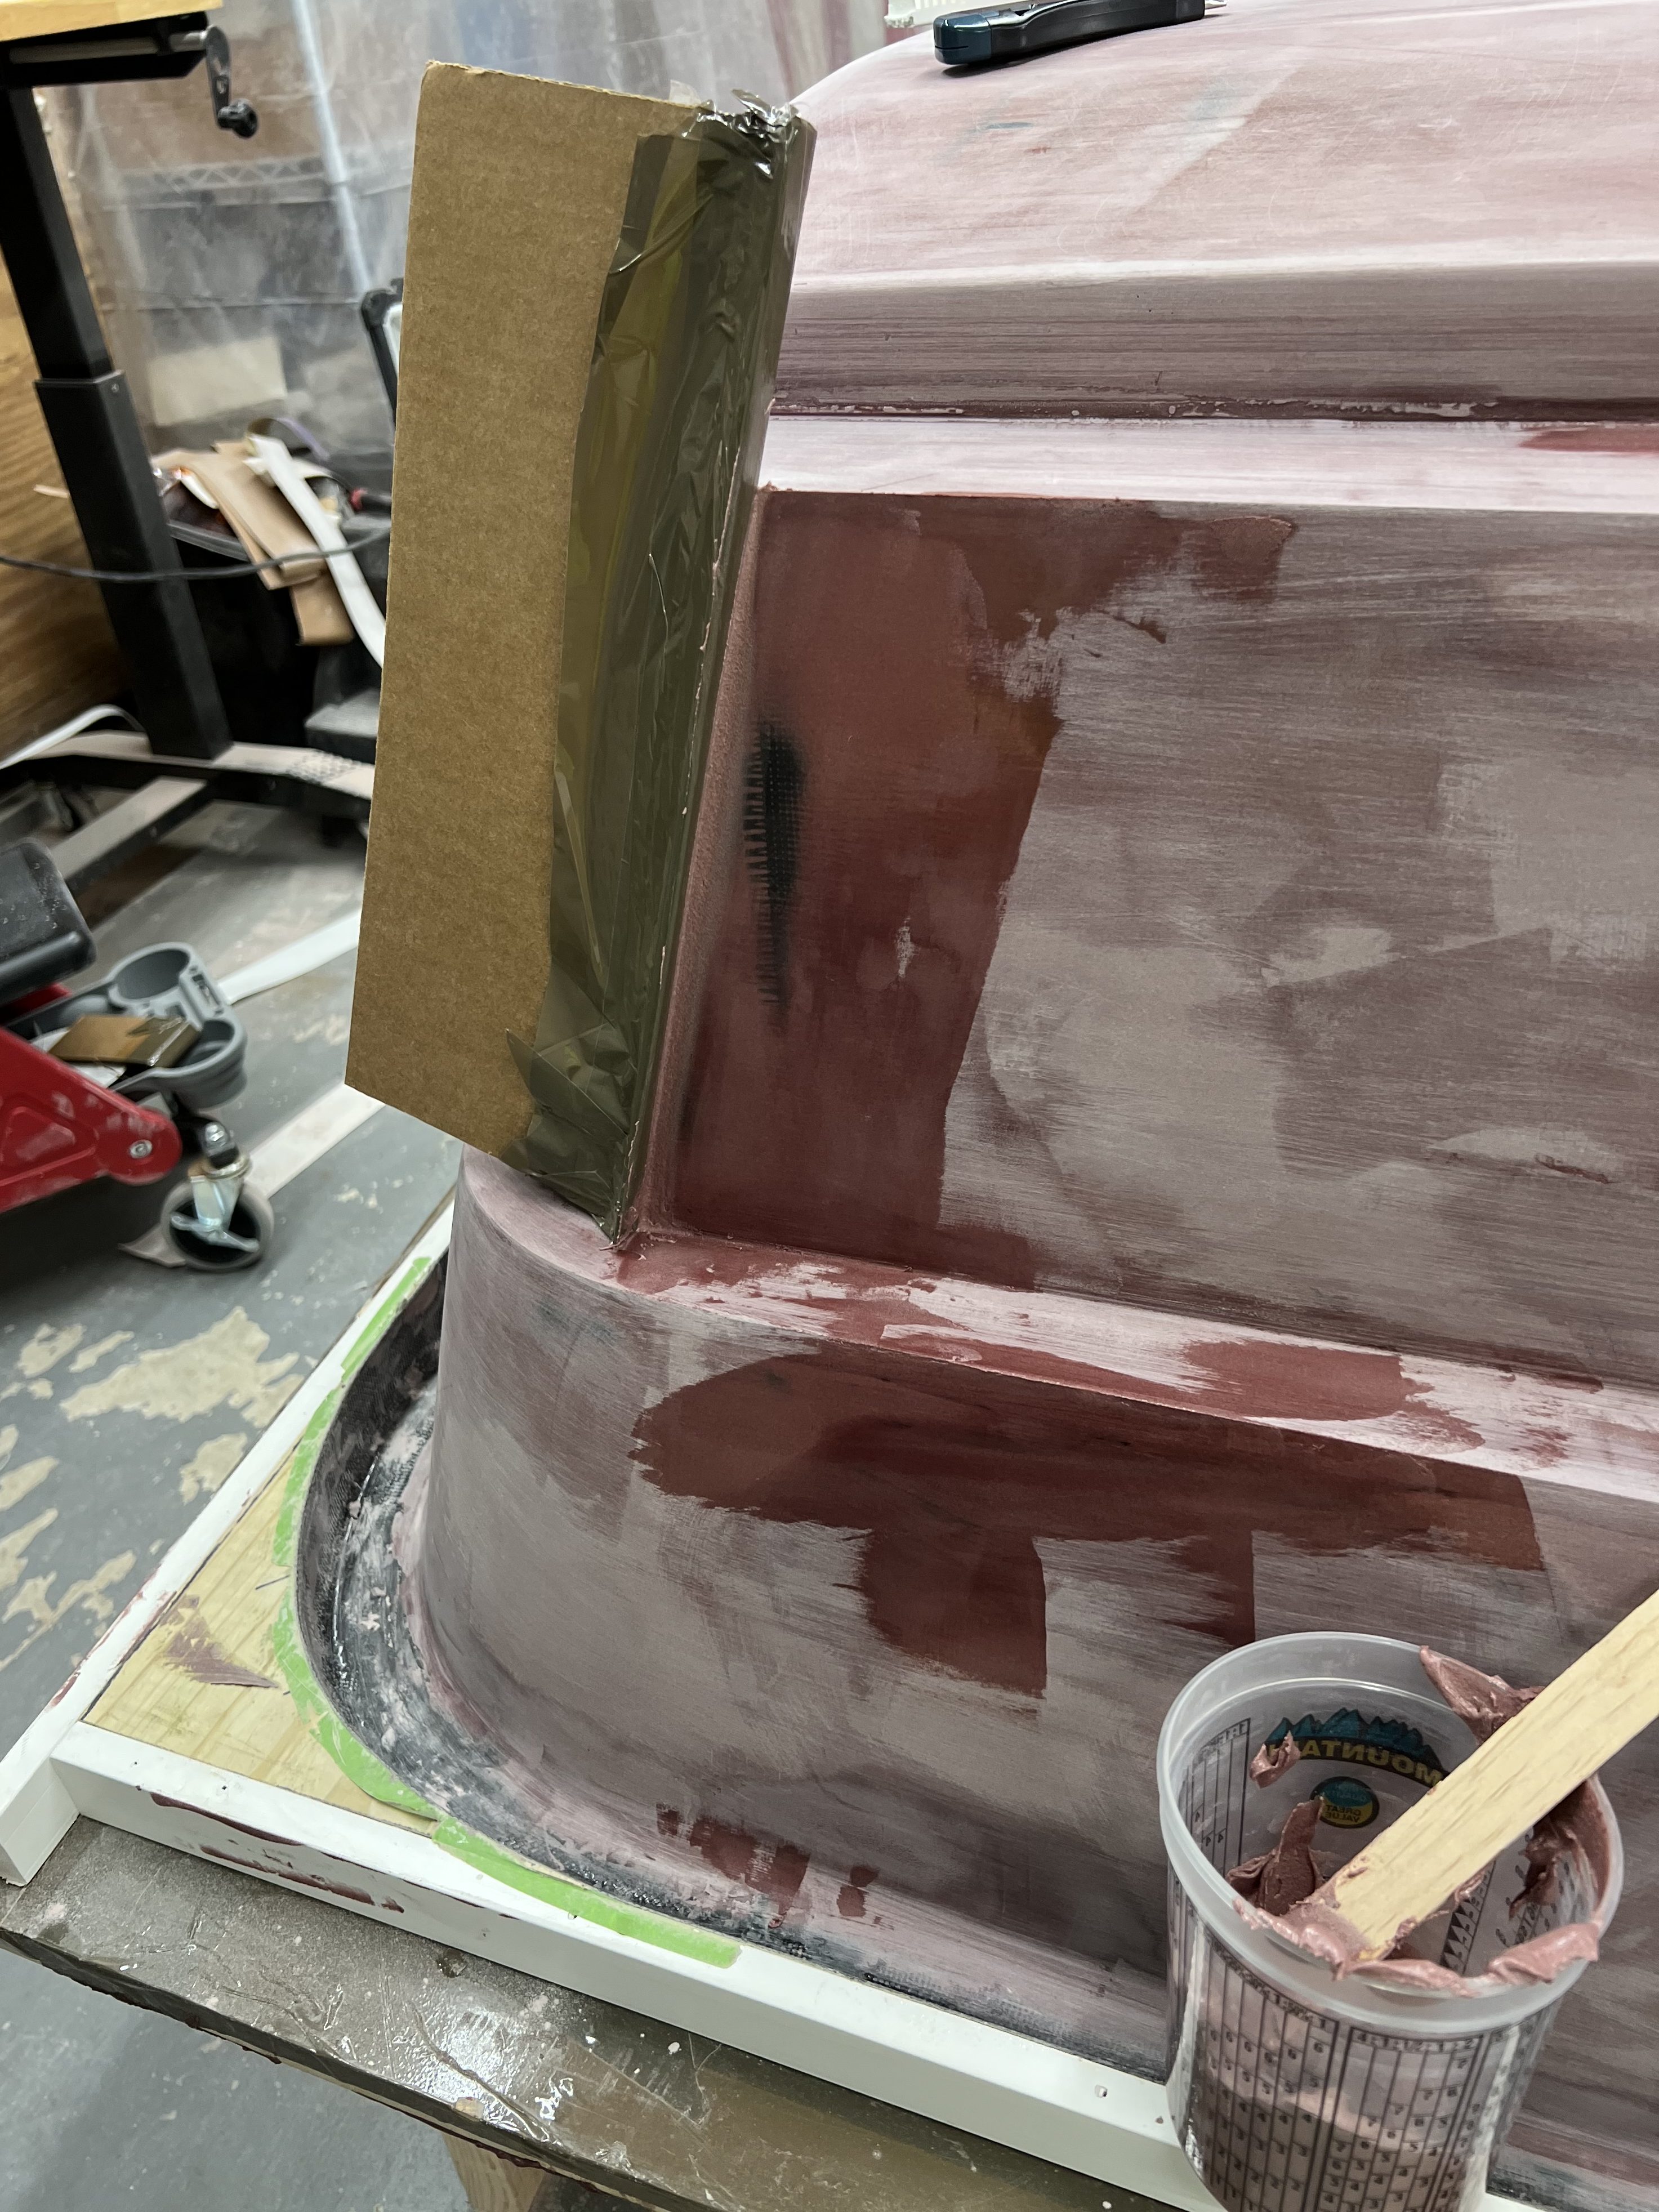
In the area circled above is a supposed to be a sharp edge. I think this is intended to keep the water from wrapping around the back of the rounded transom while running and spraying up in the air and getting on the people in the skiff. Rather, with this feature, the water runs down the side of the hull and then shoots off the back when it gets to that sharp edge.
I spent a bit of time thinking about how to best put this hard edge on. I ended up using, hot glue, cardboard, and box tape as shown in the picture collage above.
I hot glued the form onto the boat and then filled in the gap with fairing compound. That works out really well. Once its dry it is pretty easy to sand it to shape.
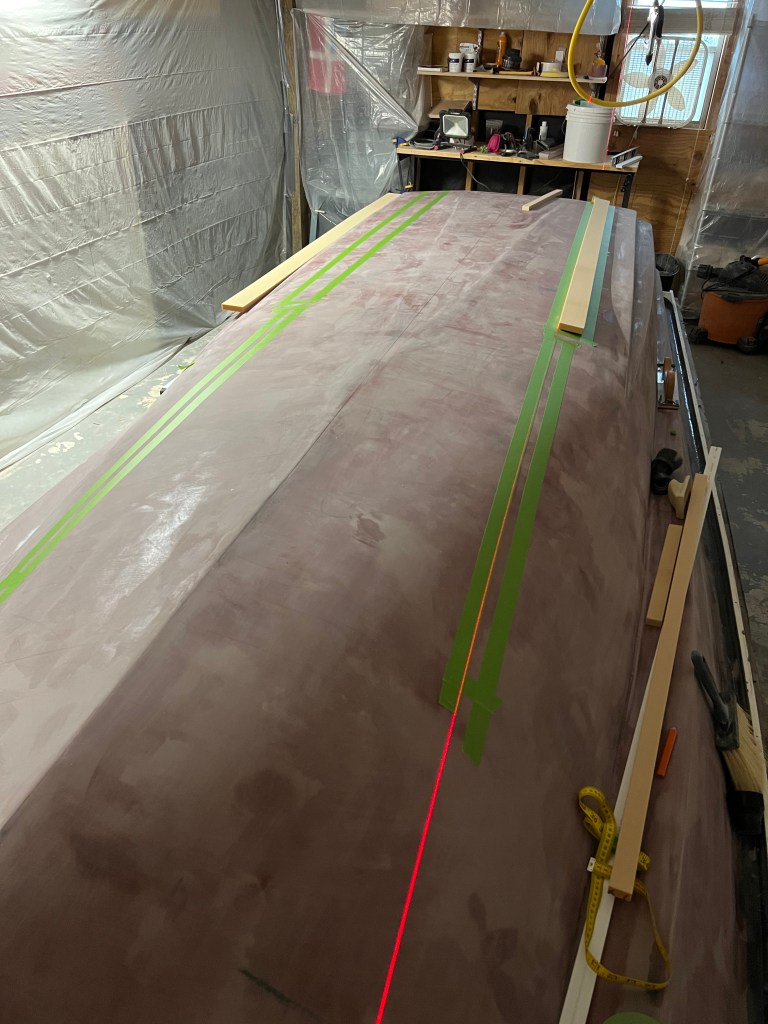
At this point the hull was fairly fair, so I went about adding the lifting and polling strakes. As you will see, this will require some additional fairing on the hull so if I had it 100% before I got to this stage, then I would just be doing double work.
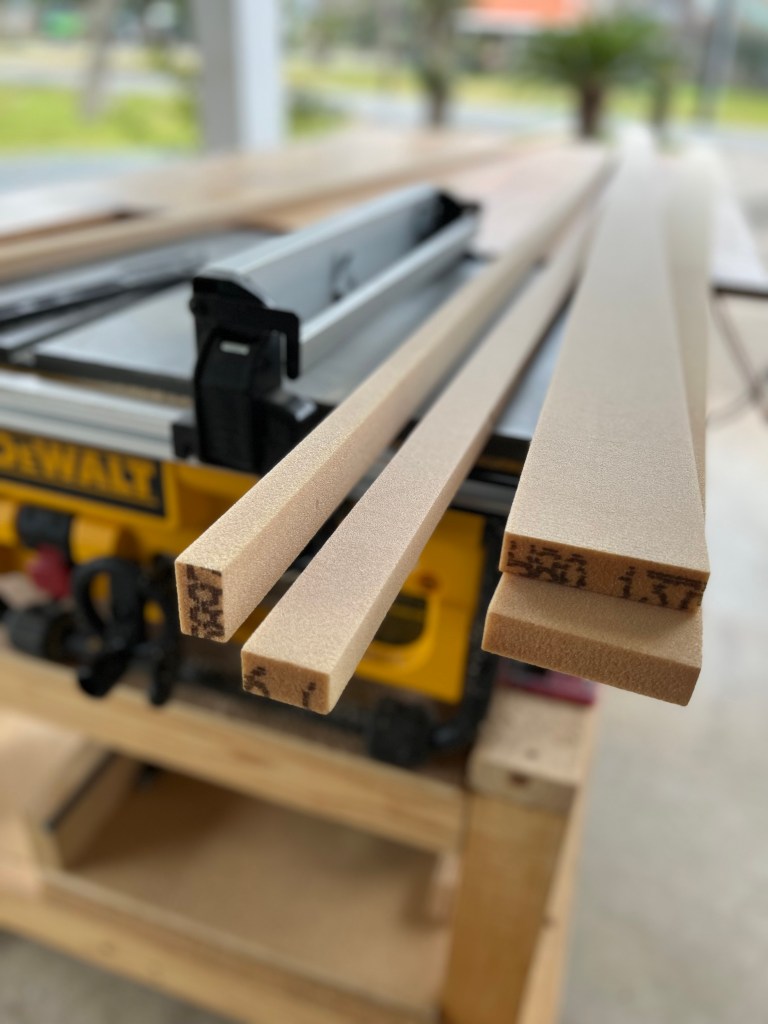
I had seen strakes on boats my entire life but I never knew their purpose unit I started this project. For this build, there are two pairs of strakes. Lifting and Polling. A lifting strake provides a horizontal surface that creates lift at planing speeds and polling strakes exists to keep the hull moving in a straight line when off plane i.e., polling the skiff.
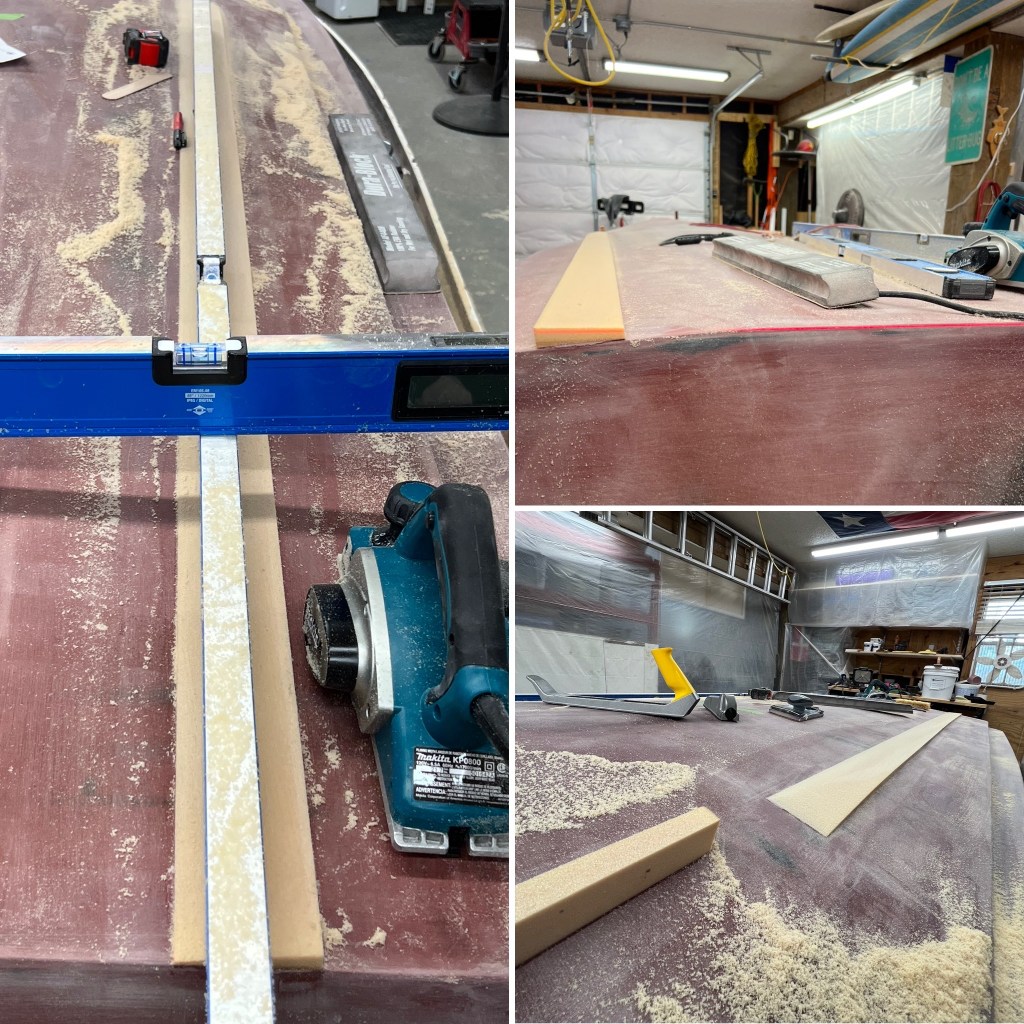
First step was ripping the strakes down to proper size. My lifting strakes are the thickness of the foam, and the poling strakes are the width of the foam. The drawings I purchased are pretty clear as to the size and location of these strakes. I used a laser to lay it out. I followed the line made by the laser with painters tape. This will serve as both a location marker and help with the clean up. Then I glued the pieces of foam down to the skiff. Notice they are not shaped yet, just the raw rectangular pieces I ripped with the table saw. Once again I probably went overkill but I used lasers and levels to make sure that I kept the lifting strakes parallel with the bottom of the skiff. The polling strakes were a bit less scientific. I used hand tools to sand them down and blend into the hull.
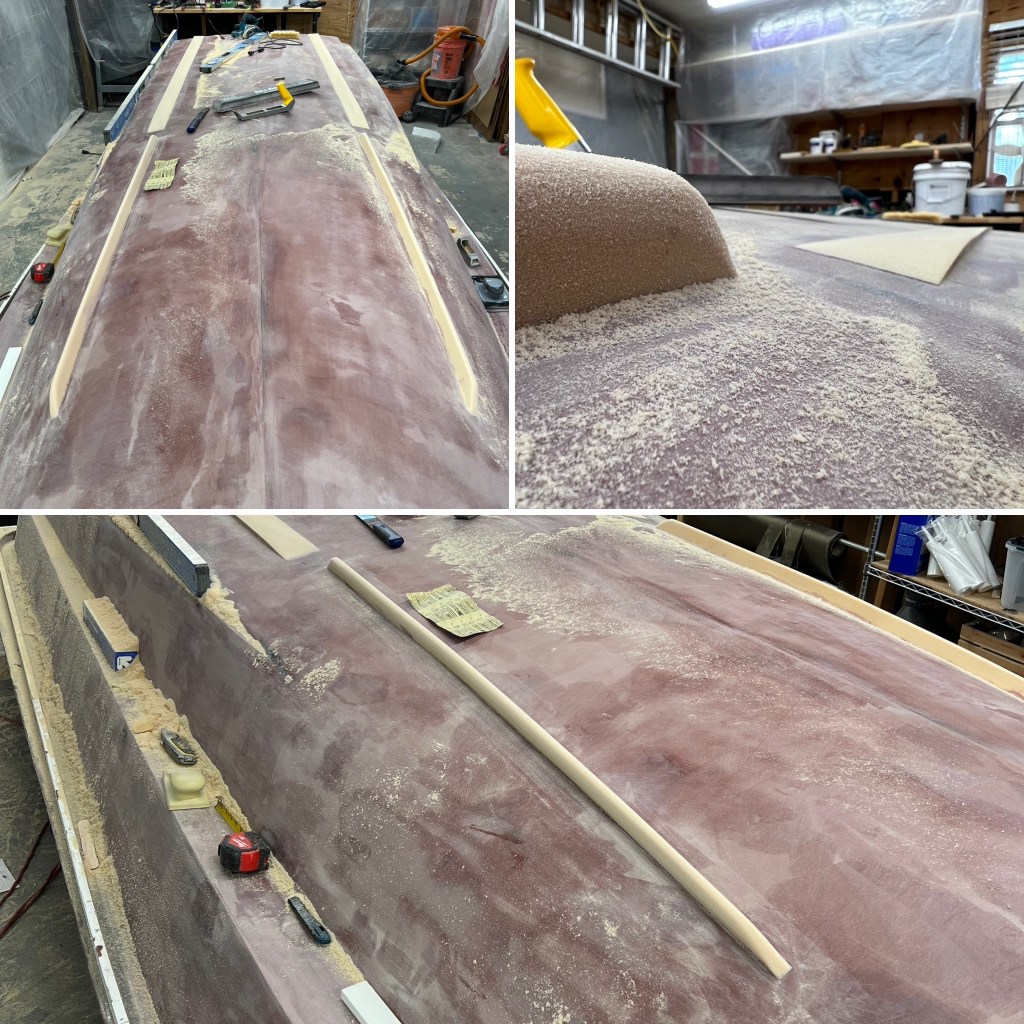
After the strakes were shaped, I coated them with neat epoxy prior to putting down the fillets. I found that fillets on bare foam are not the way to go. When you end up trying to sand the fillets smooth the raw foam takes a beating. Best to give it a little extra protection so it all sands down uniformly.
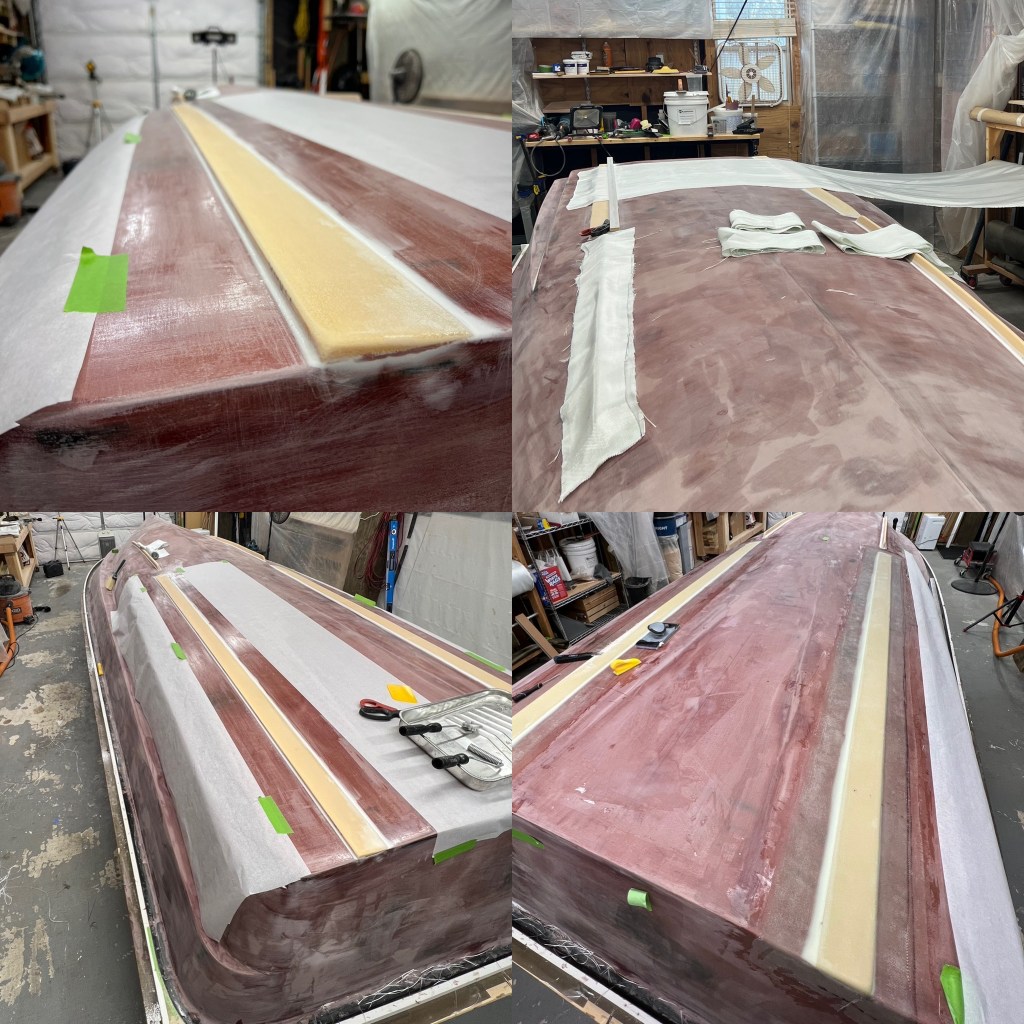
As usual, it’s always best to have everything cleaned up and laid out ready to go before you start working with epoxy due to the limited working time. I put three layers of 10oz on the lifting strakes. In hindsight, this would have been a good spot for some basalt, because these strakes are going to meet a few oysters in their lifetime. For the polling strakes I put two layers of 10oz and one layer of basalt. I put peel ply over all the stakes to keep the amine blush down and improve the finish.
The basalt did a great job of huggin the radius of the strakes. Everytime I use that stuff i’m impressed with its ability to take the shape of whatever I’m working on. It’s been about 18 months since I was at this point on the build and one of the nice things writing this is looking back and reminding myself of the learnings I had early on.
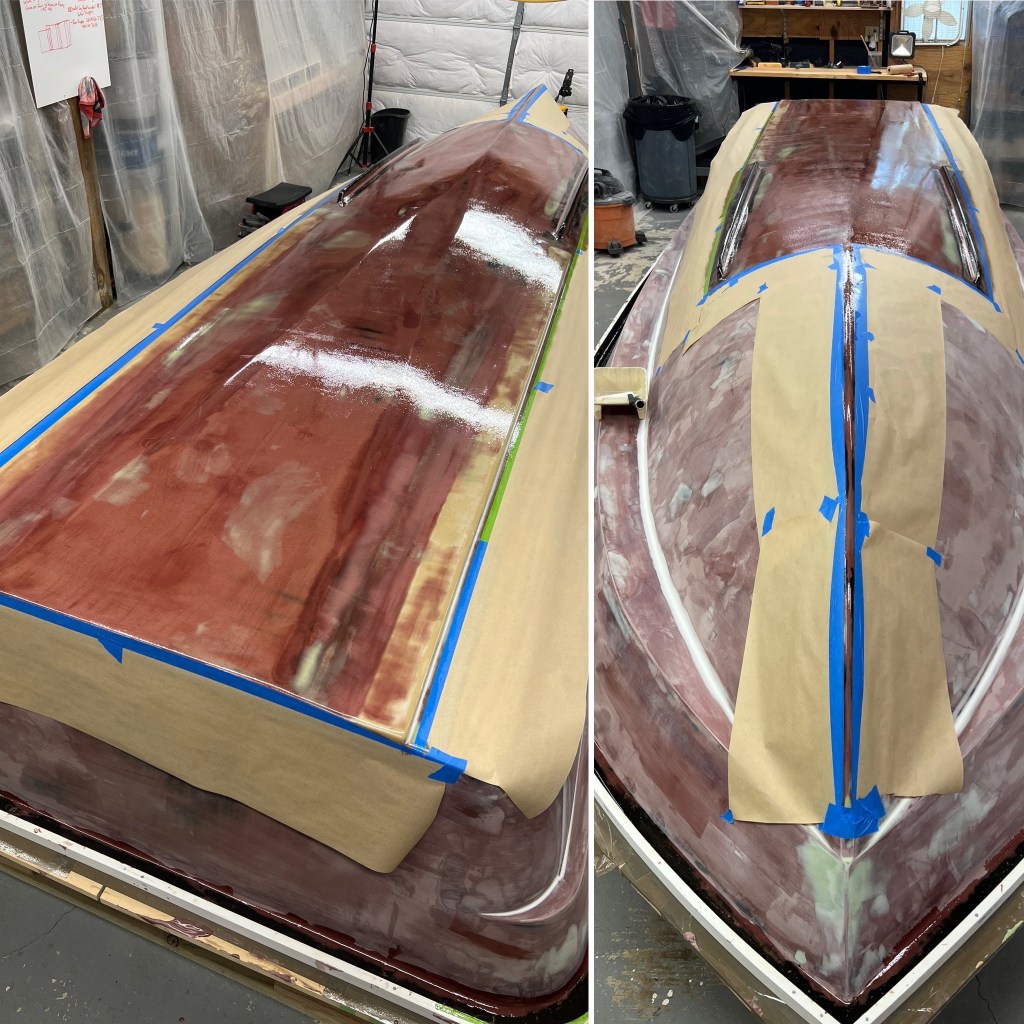
One of the final hull shaping steps that is needed is giving the edges of the chines a lip. To achieve this, I bought some then form board from Home Depot and coated one side of it with packing tape, then hot glued it to skiff. Some parts didn’t want to stay tight so I had to get creative. Then once the form board was in place. I basically just made a fillet on the inside. The result is in the bottom right photo above. With all the hull shaped, it was time to make it ready for paint. Again, used lighting to try and find all the imperfections. A flashlight at an angle can show you a lot. To get holes and scratches filled I used Total Fair from Total Boat. I really love using this product for the smaller things. It’s easy to mix up, gets in really small spots, and easy to sand. I think I saw someone else on Instagram do this and thought it made sense. The idea here is to add some protection to the underside of the skiff that is likely to encounter so sharp objects in the water (oysters and rocks). I added a few coats of neat epoxy here to give it one last line of defence before something were to put a deep gouge on the bottom. After that cured I sanded it to roughen it up and bit and get it ready for paint!
I’m going to try and be better about catching up on these. Like i said earlier, I’m significantly ahead of this stage on the skiff but the blogging has been lagging. It would be nice to get caught up because it is much easier to recall things as they happen. This last picture here was from June 12, 2022 and it is currently October 29, 2023. As always it’s much easier to take pictures and throw them on Instagram, so if you want to see where I’m at currently with the build, or if you want to connect, check out this link: https://www.instagram.com/the_mullet_shepherd/